How to create a US/UK/APAC professional/worker
this tutorial shows how to create a new worker in US, UK or Australia in Striive in seconds and activate them for the platform
Go to acc1-platform.select.hr
1. Introduction
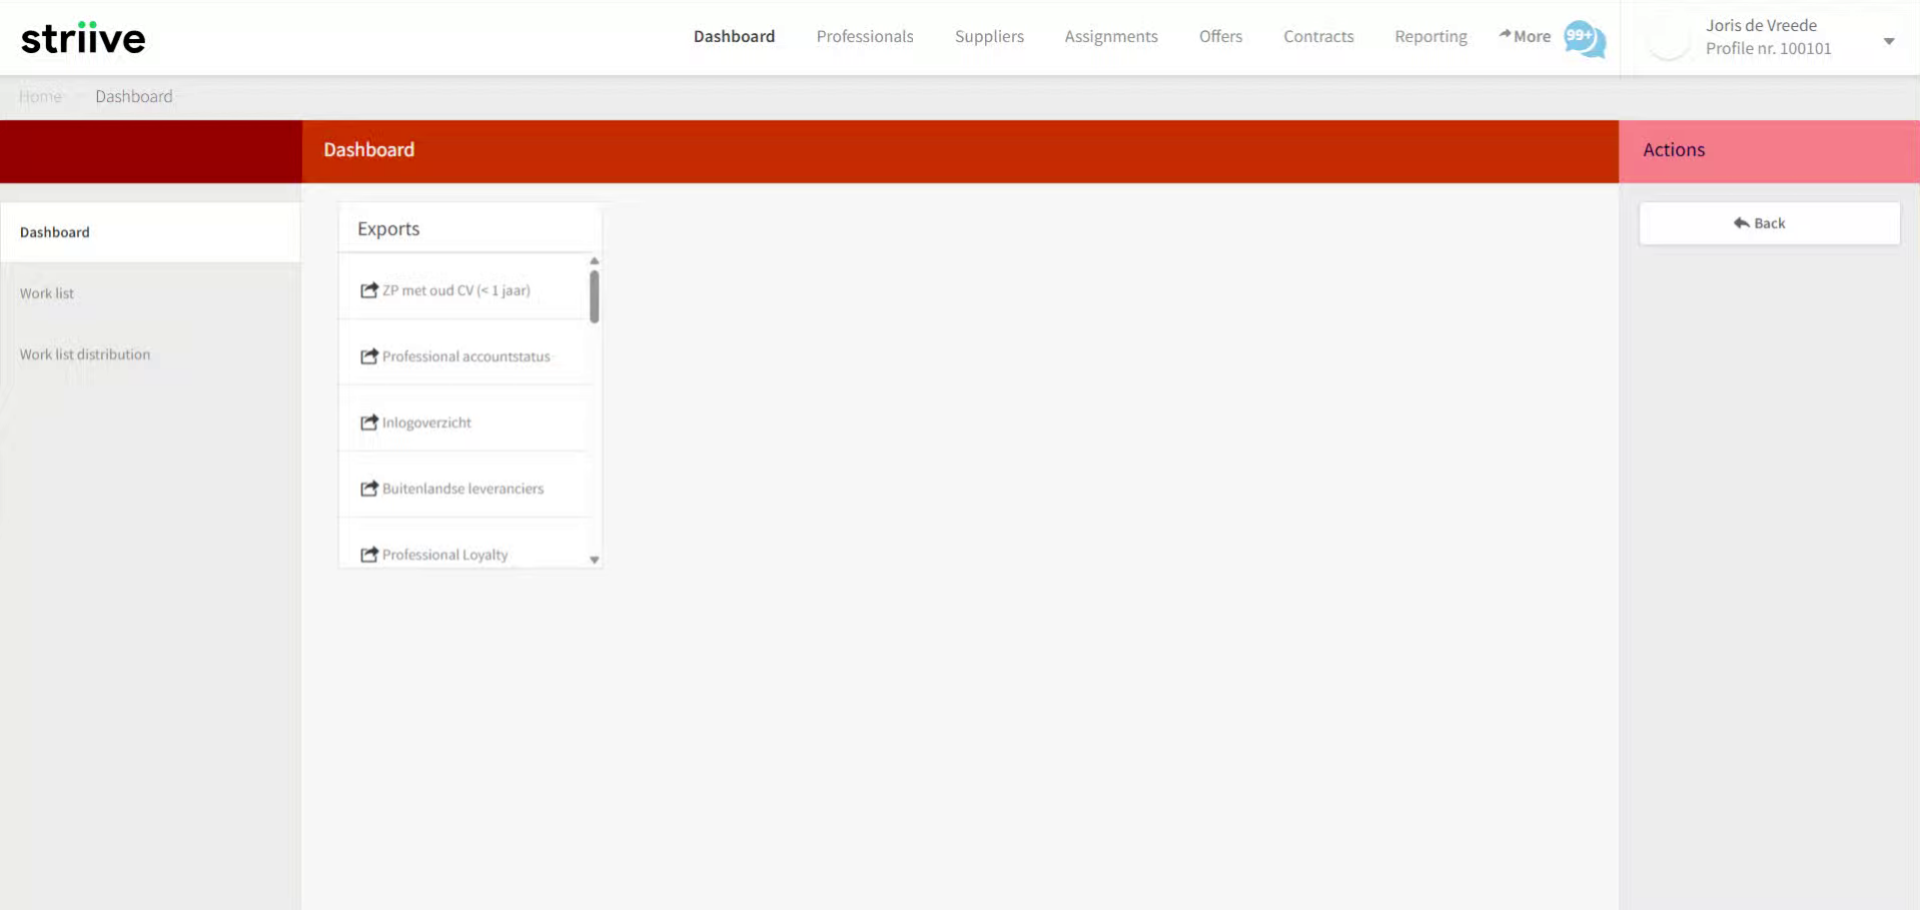
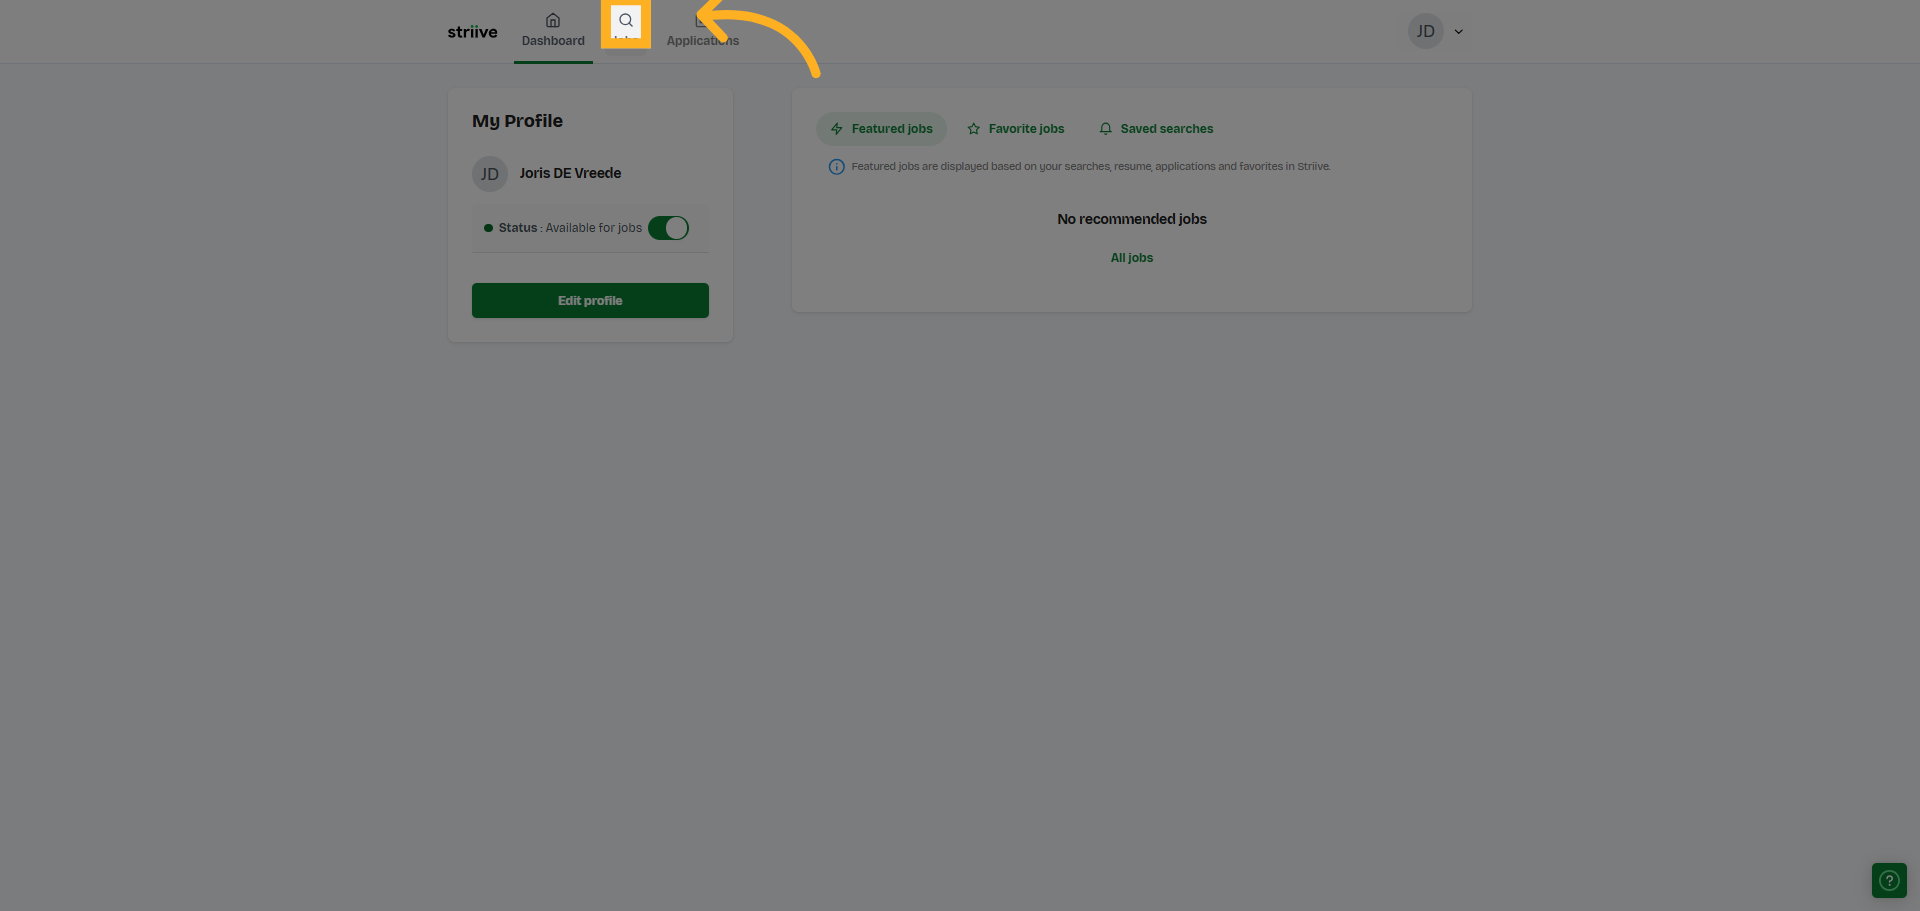
2. Navigate to Professionals Table

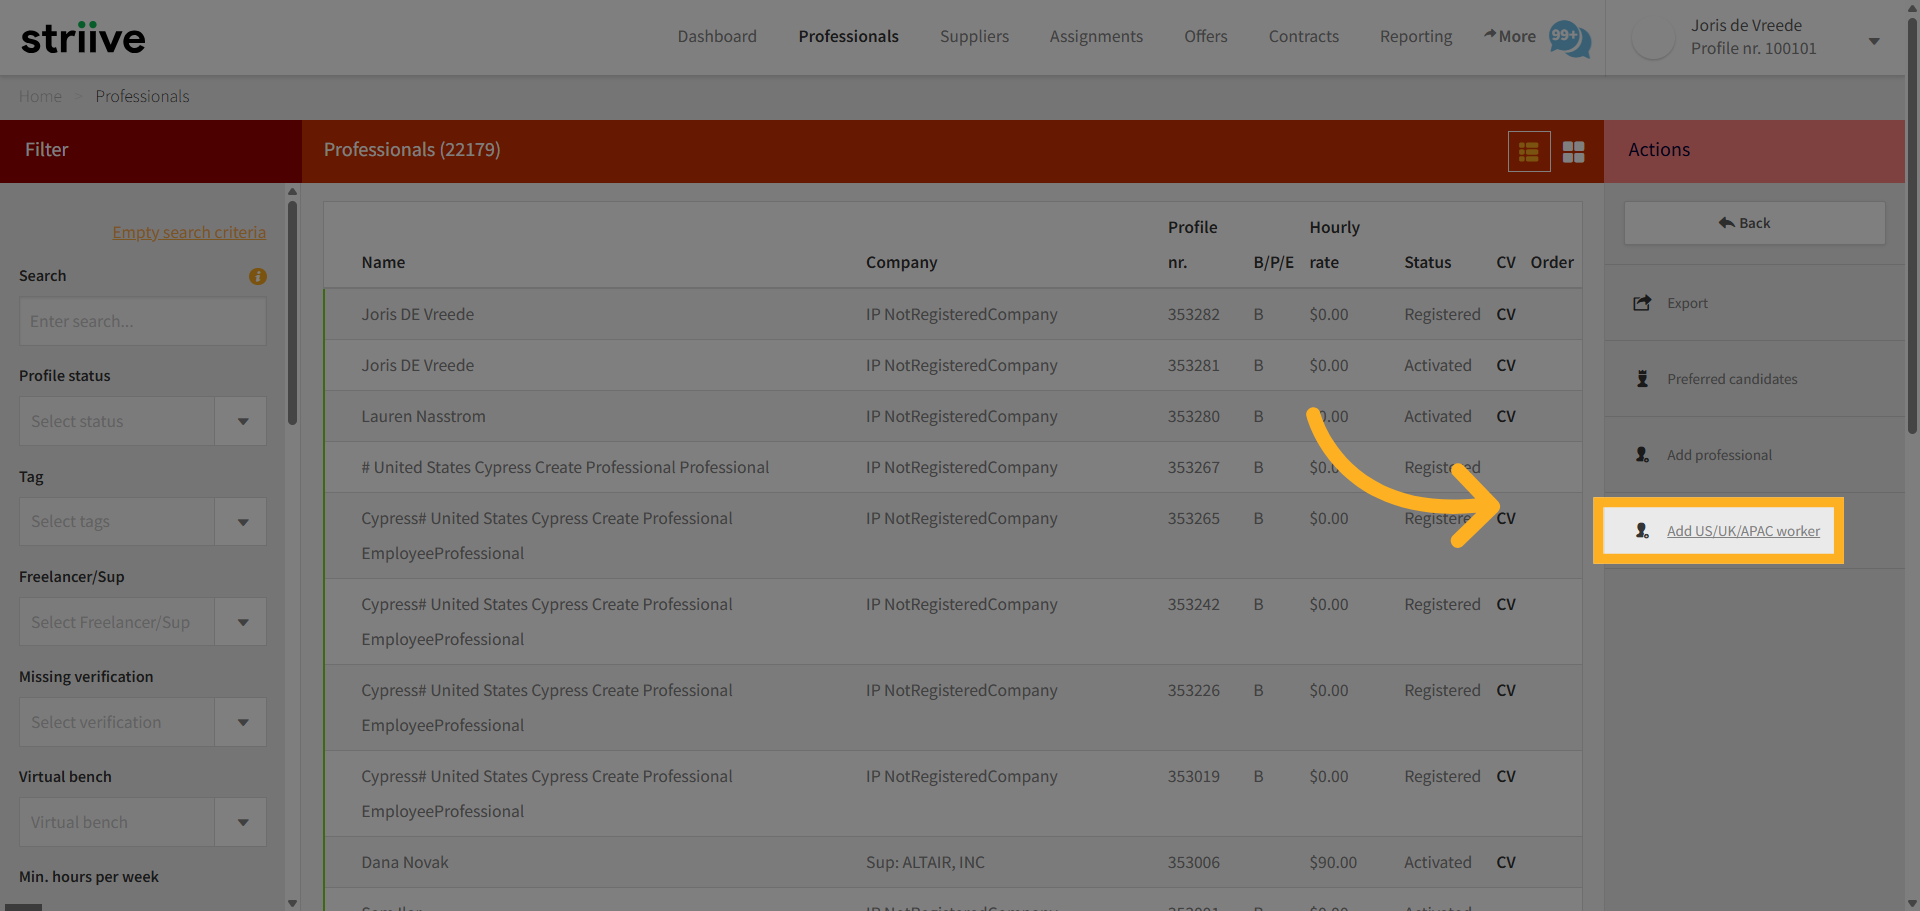
3. Select Add Worker Button
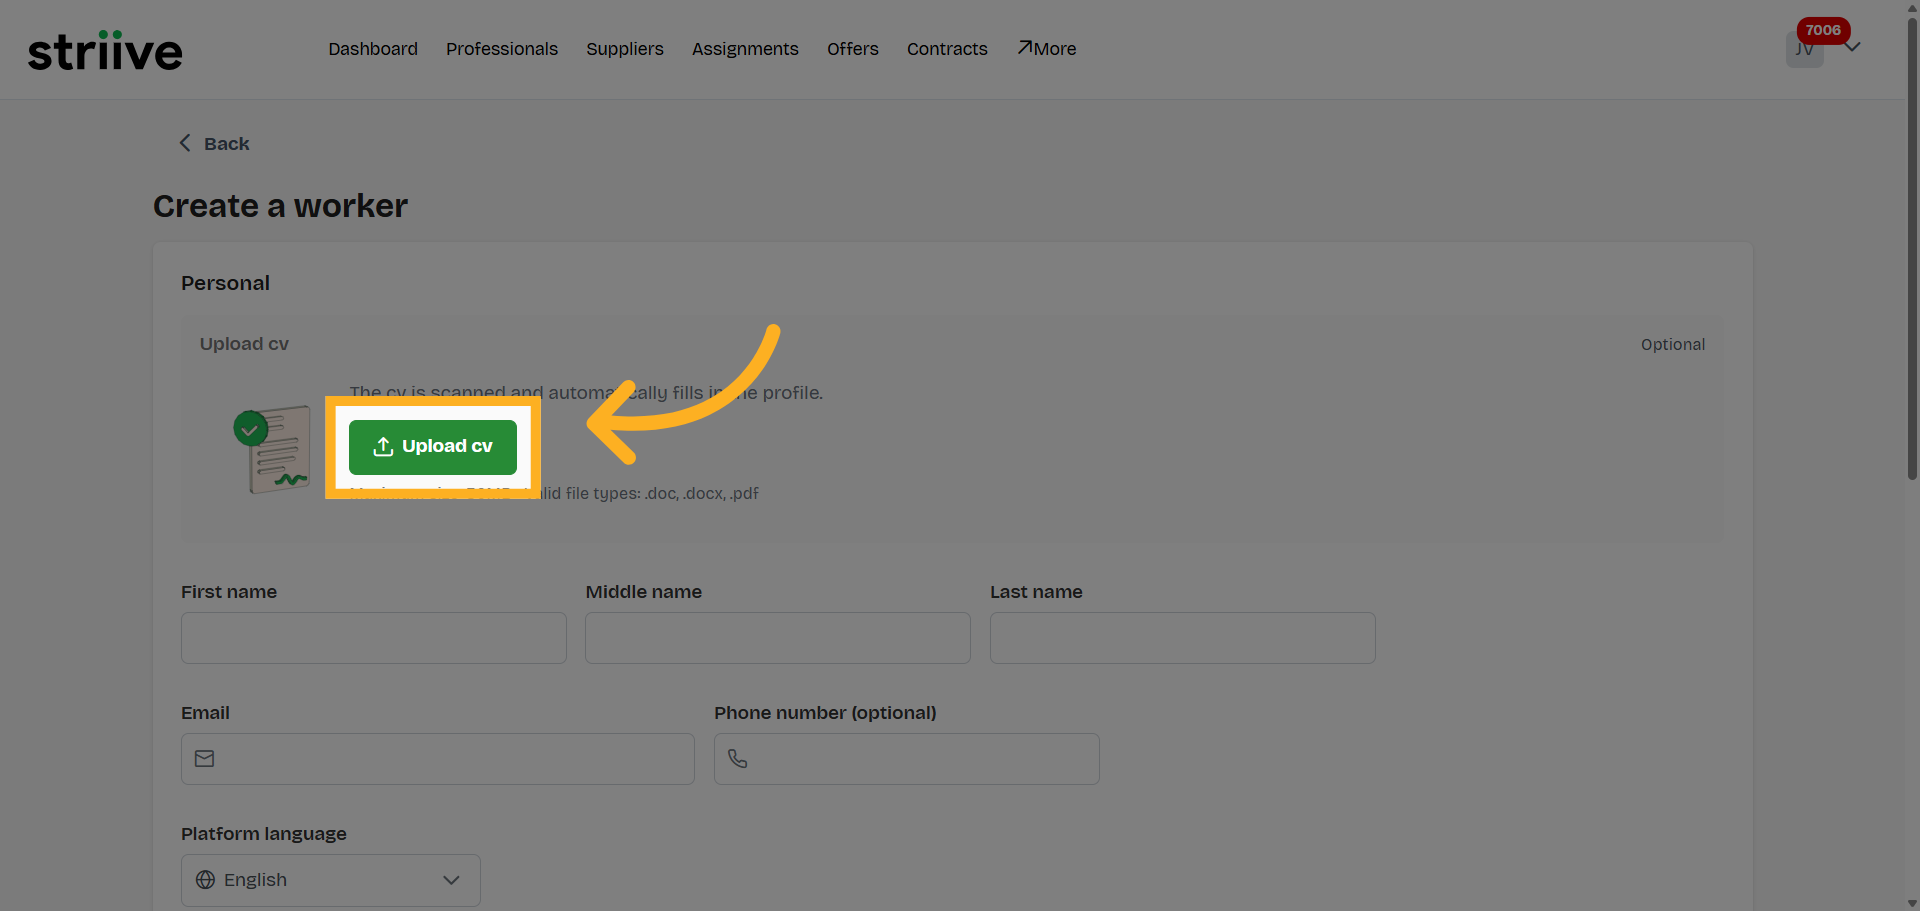
4. Upload Resume File
5. Enter Resume Details
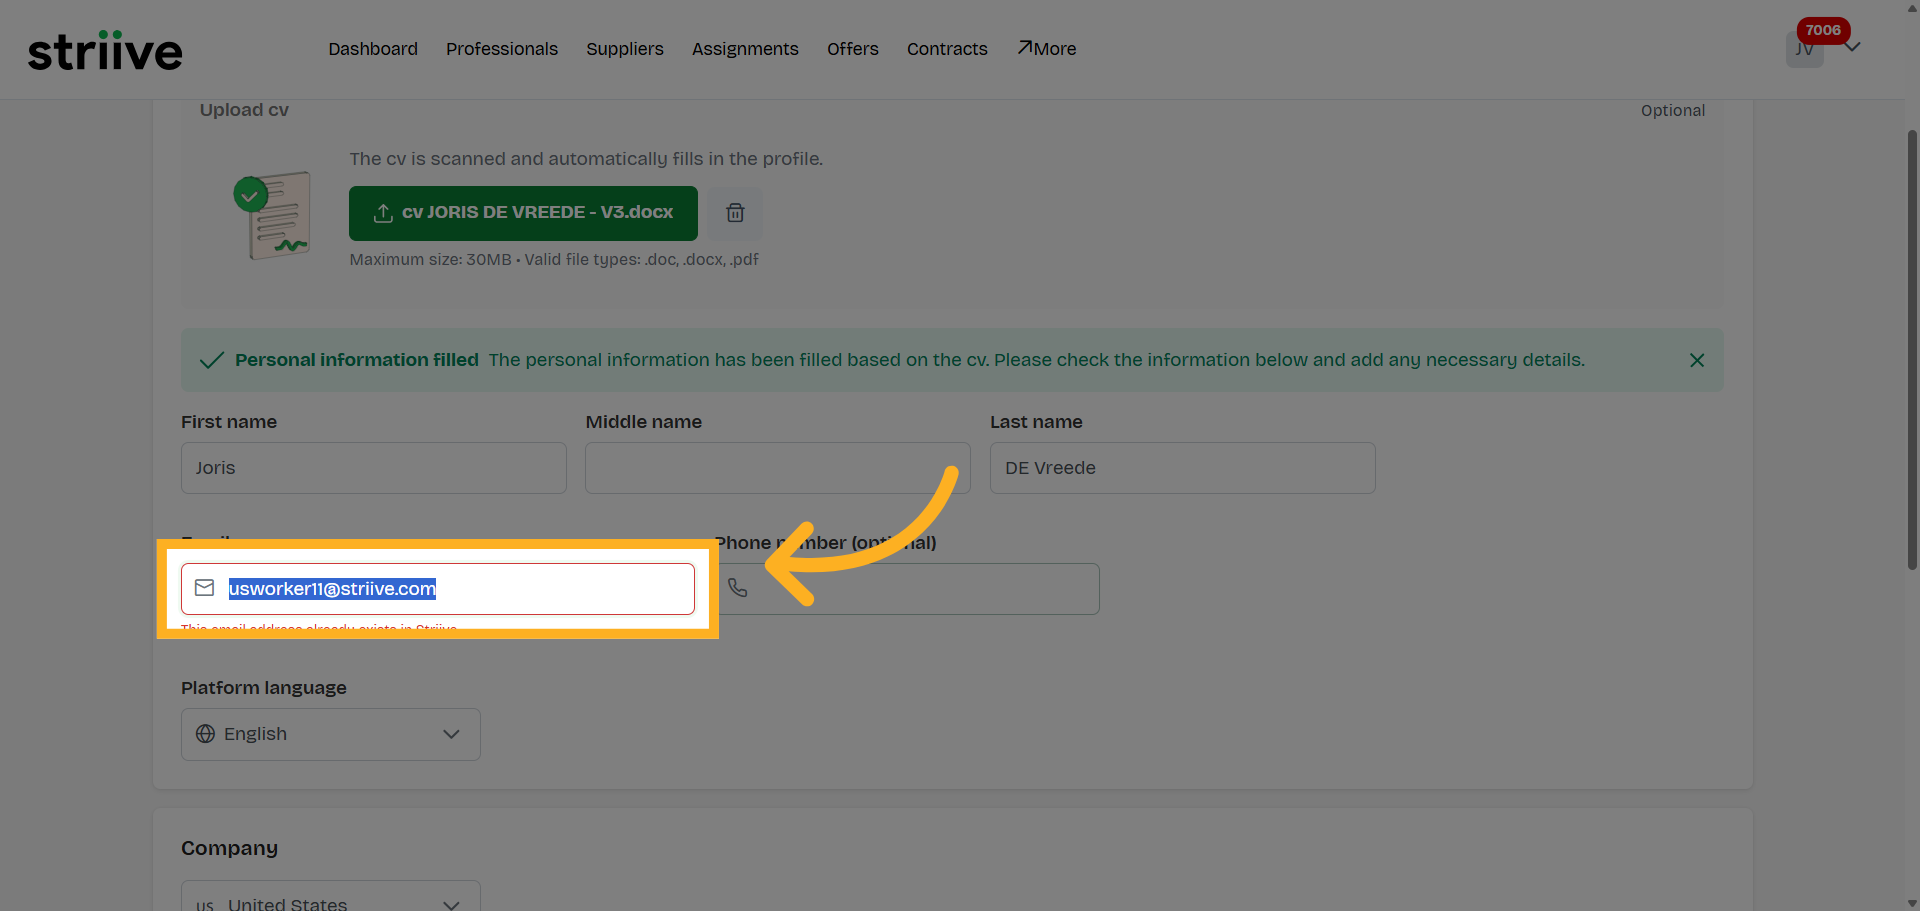
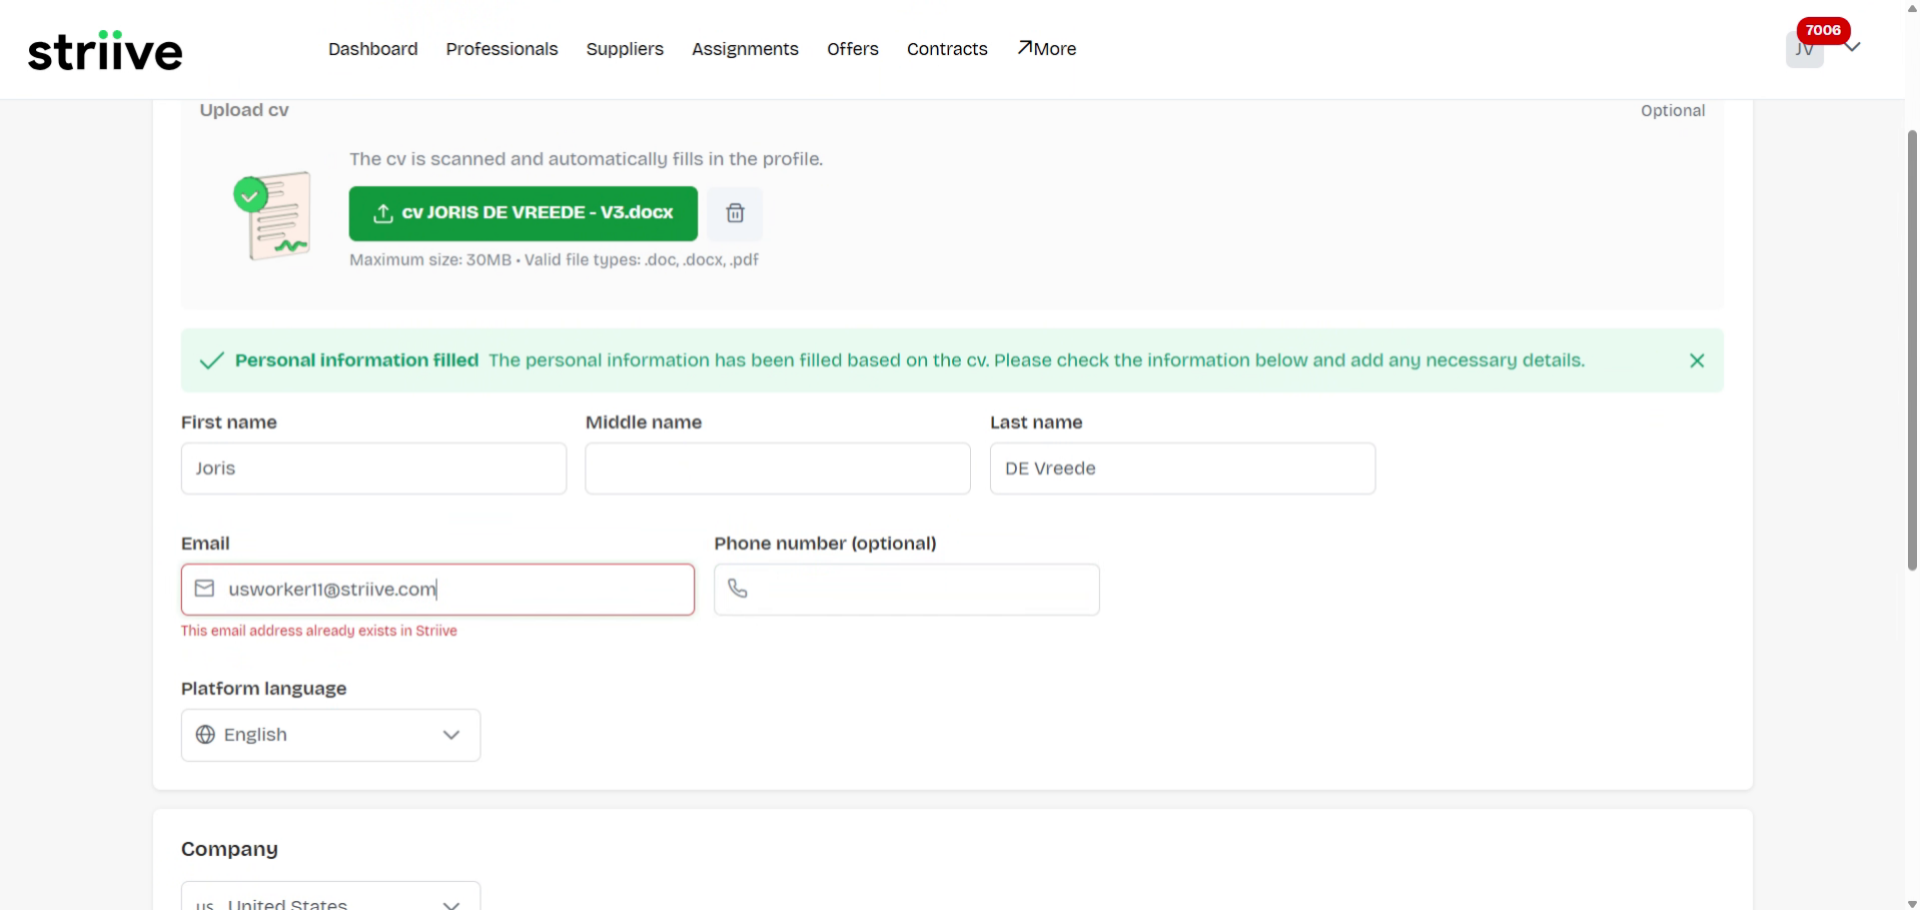
6. Locate Email Field
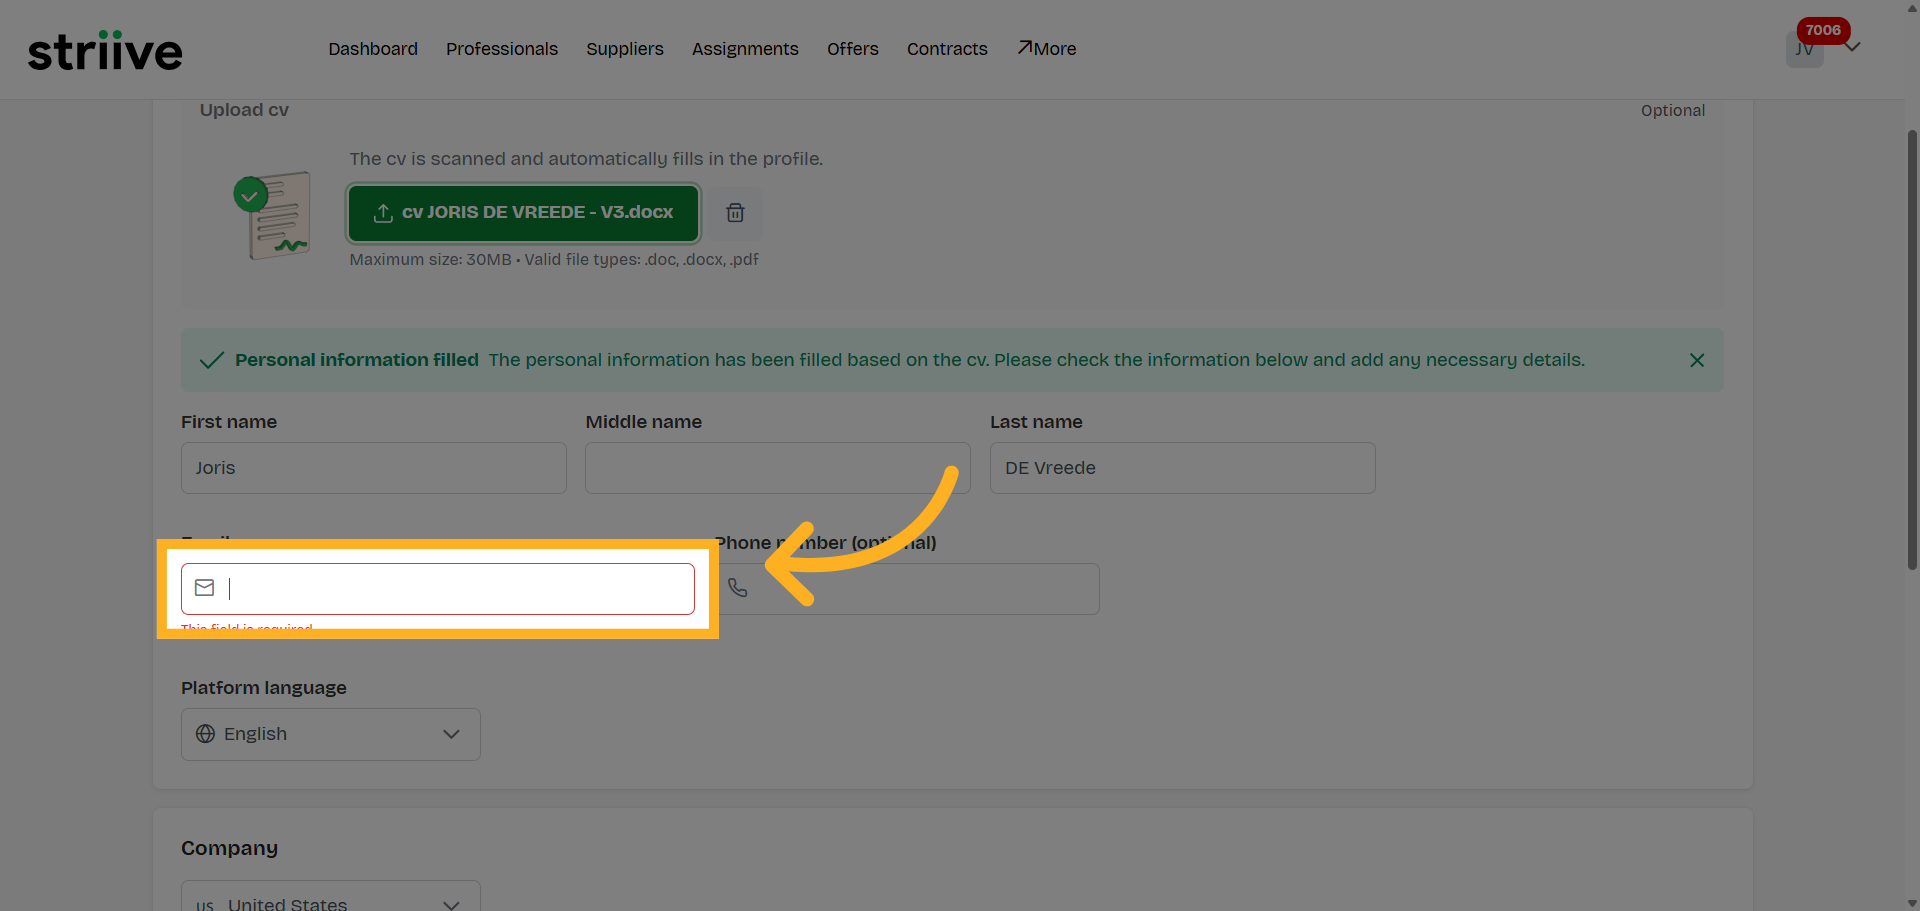
7. Select Email Field
8. Enter Email Address
9. Navigate to Email Field
10. Navigate to Email Field
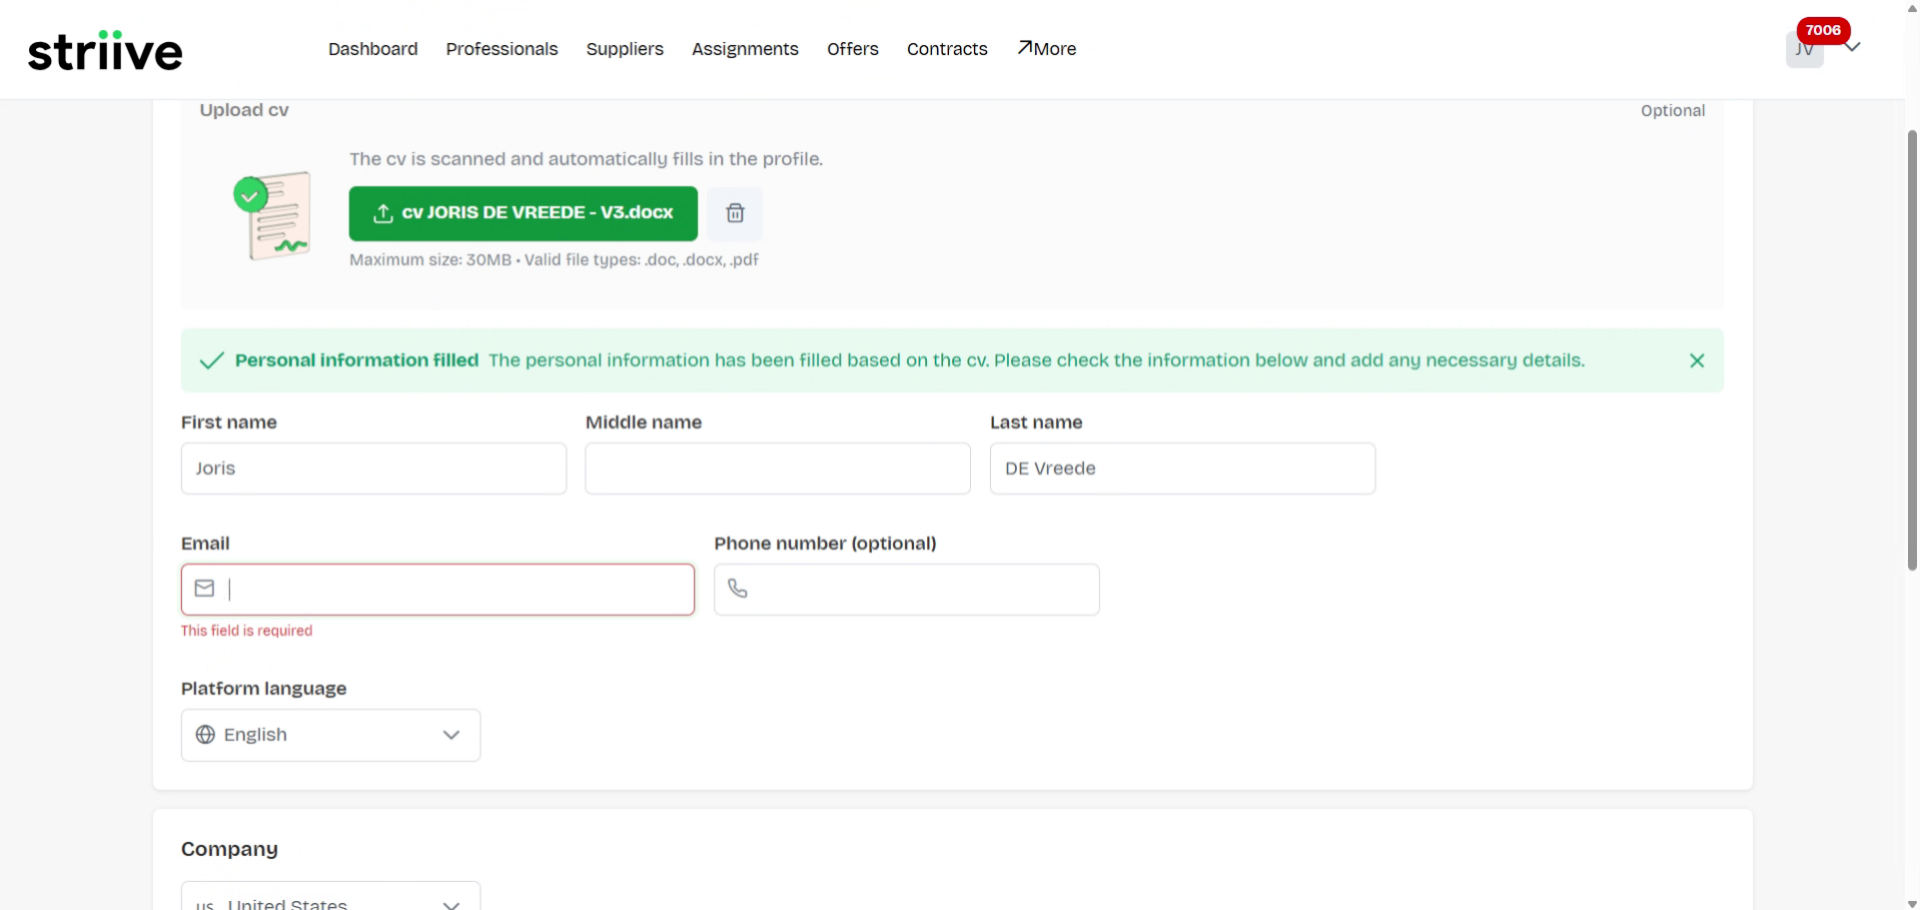
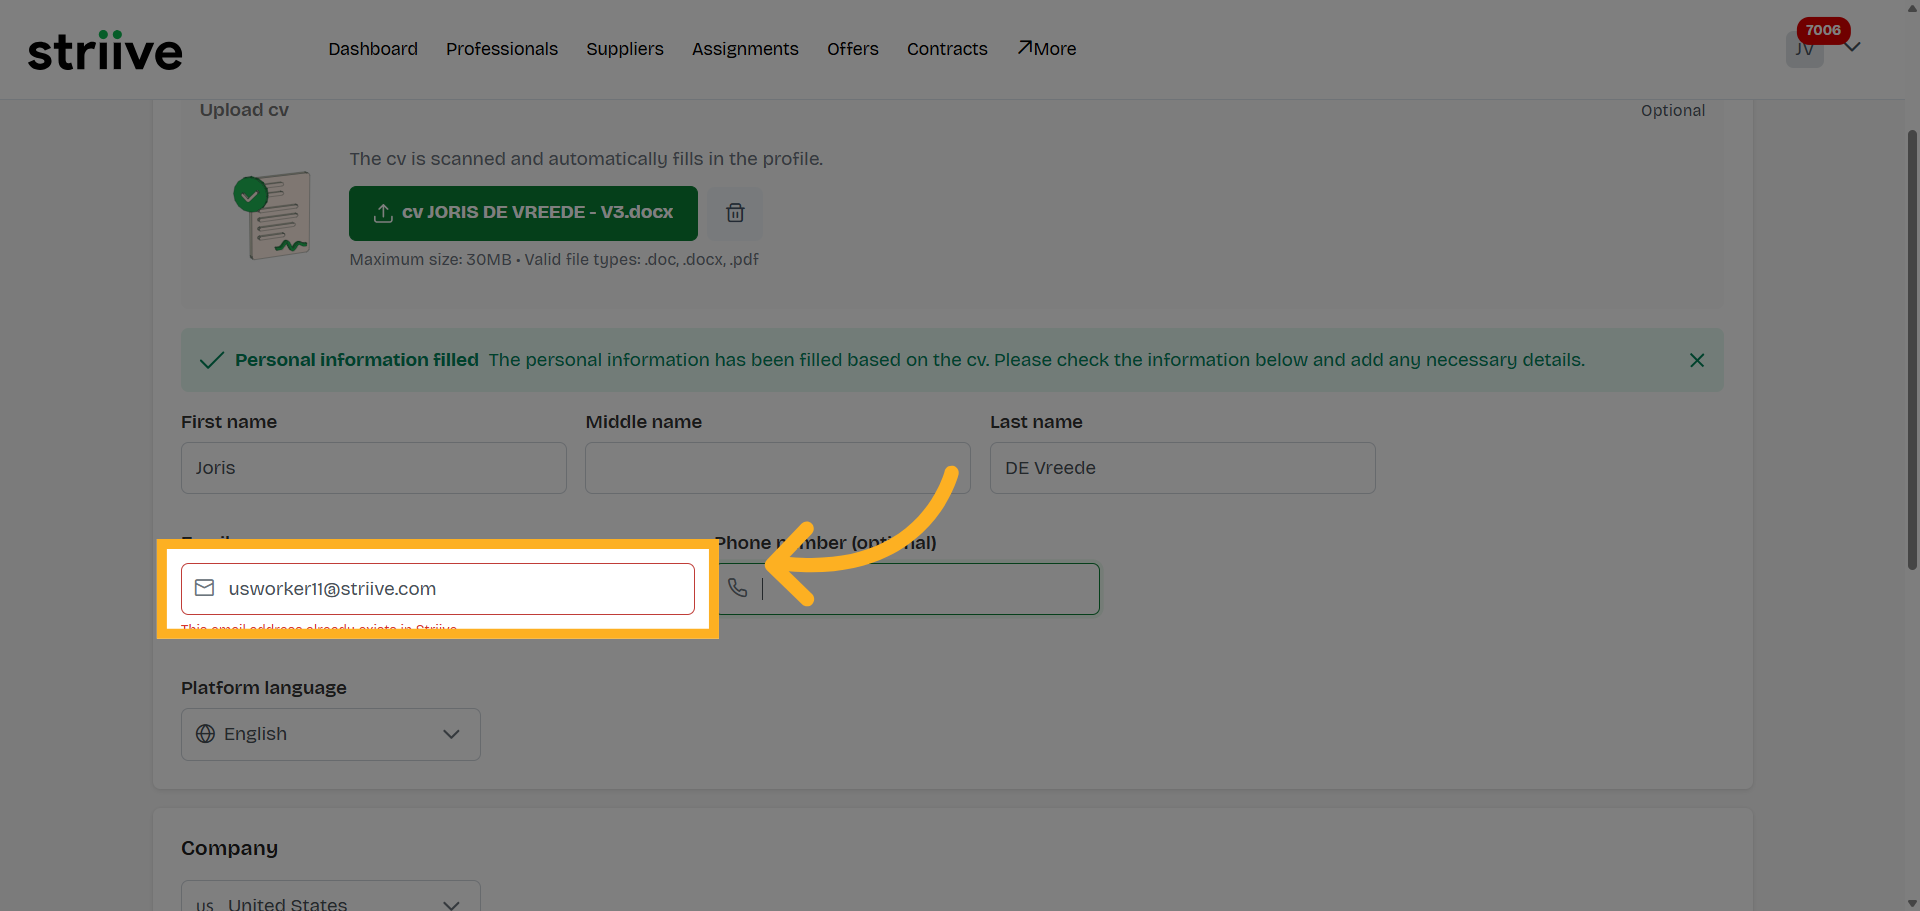
11. Enter Email Address
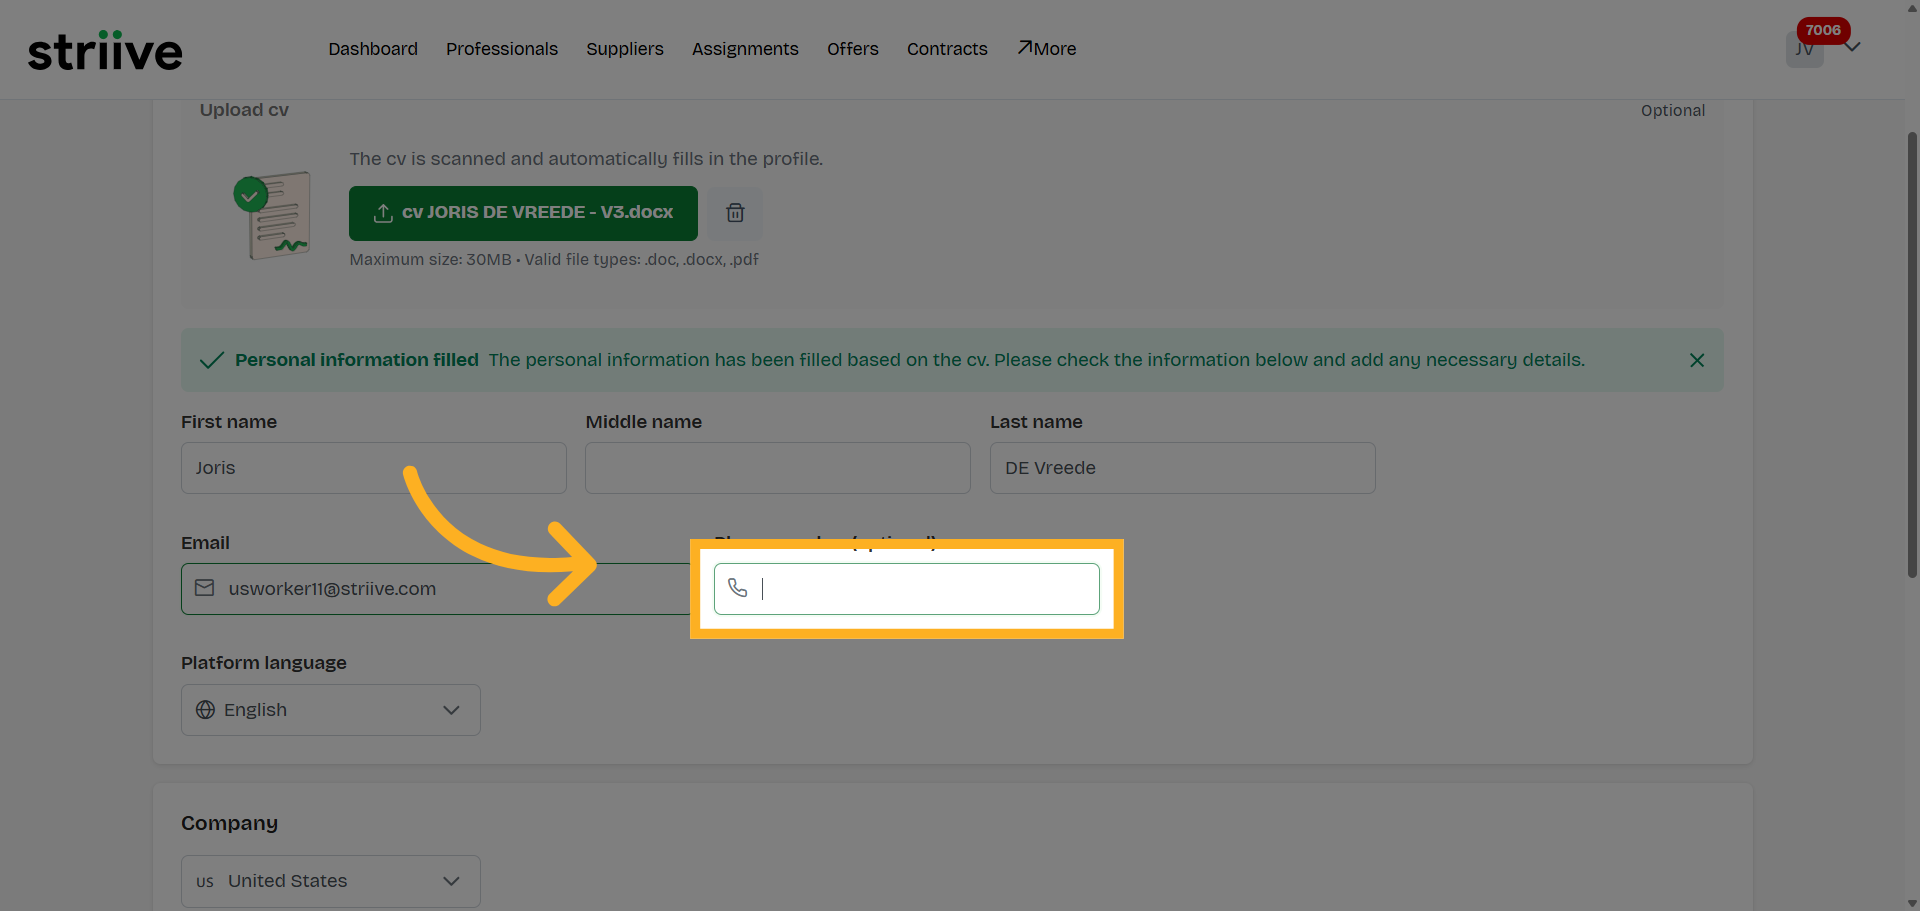
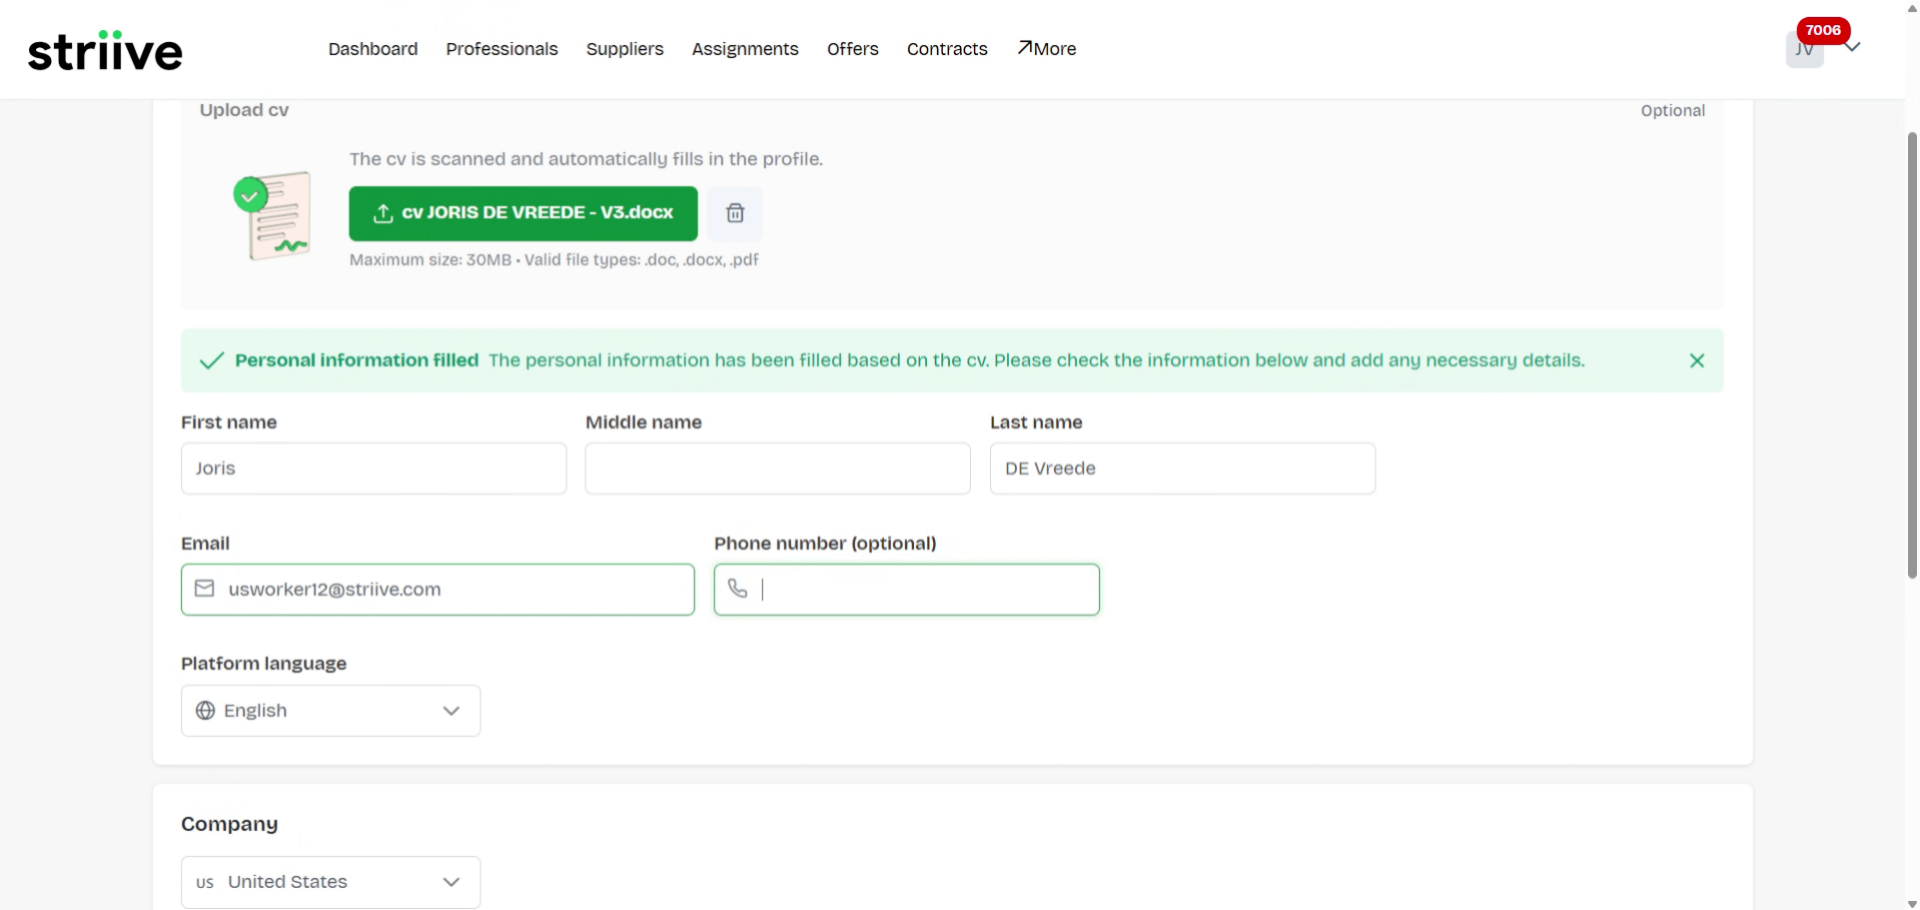
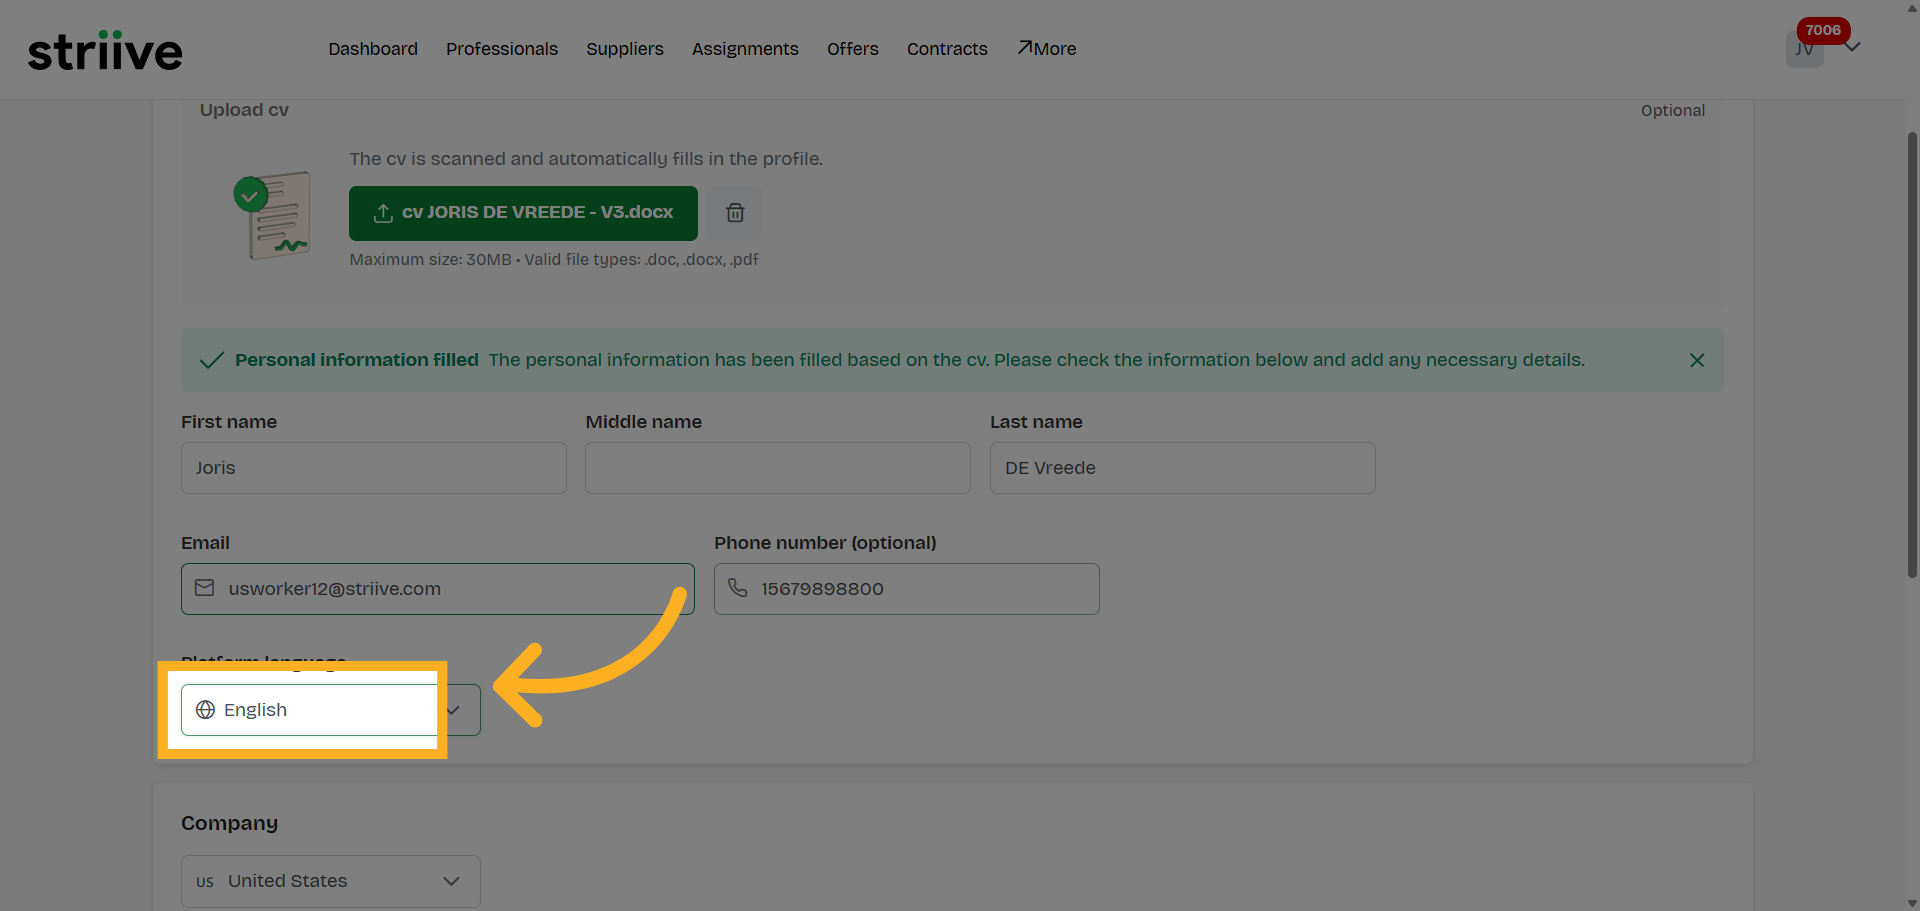
12. Navigate to Phone Field

13. Enter Phone Number
14. Navigate to Phone Field
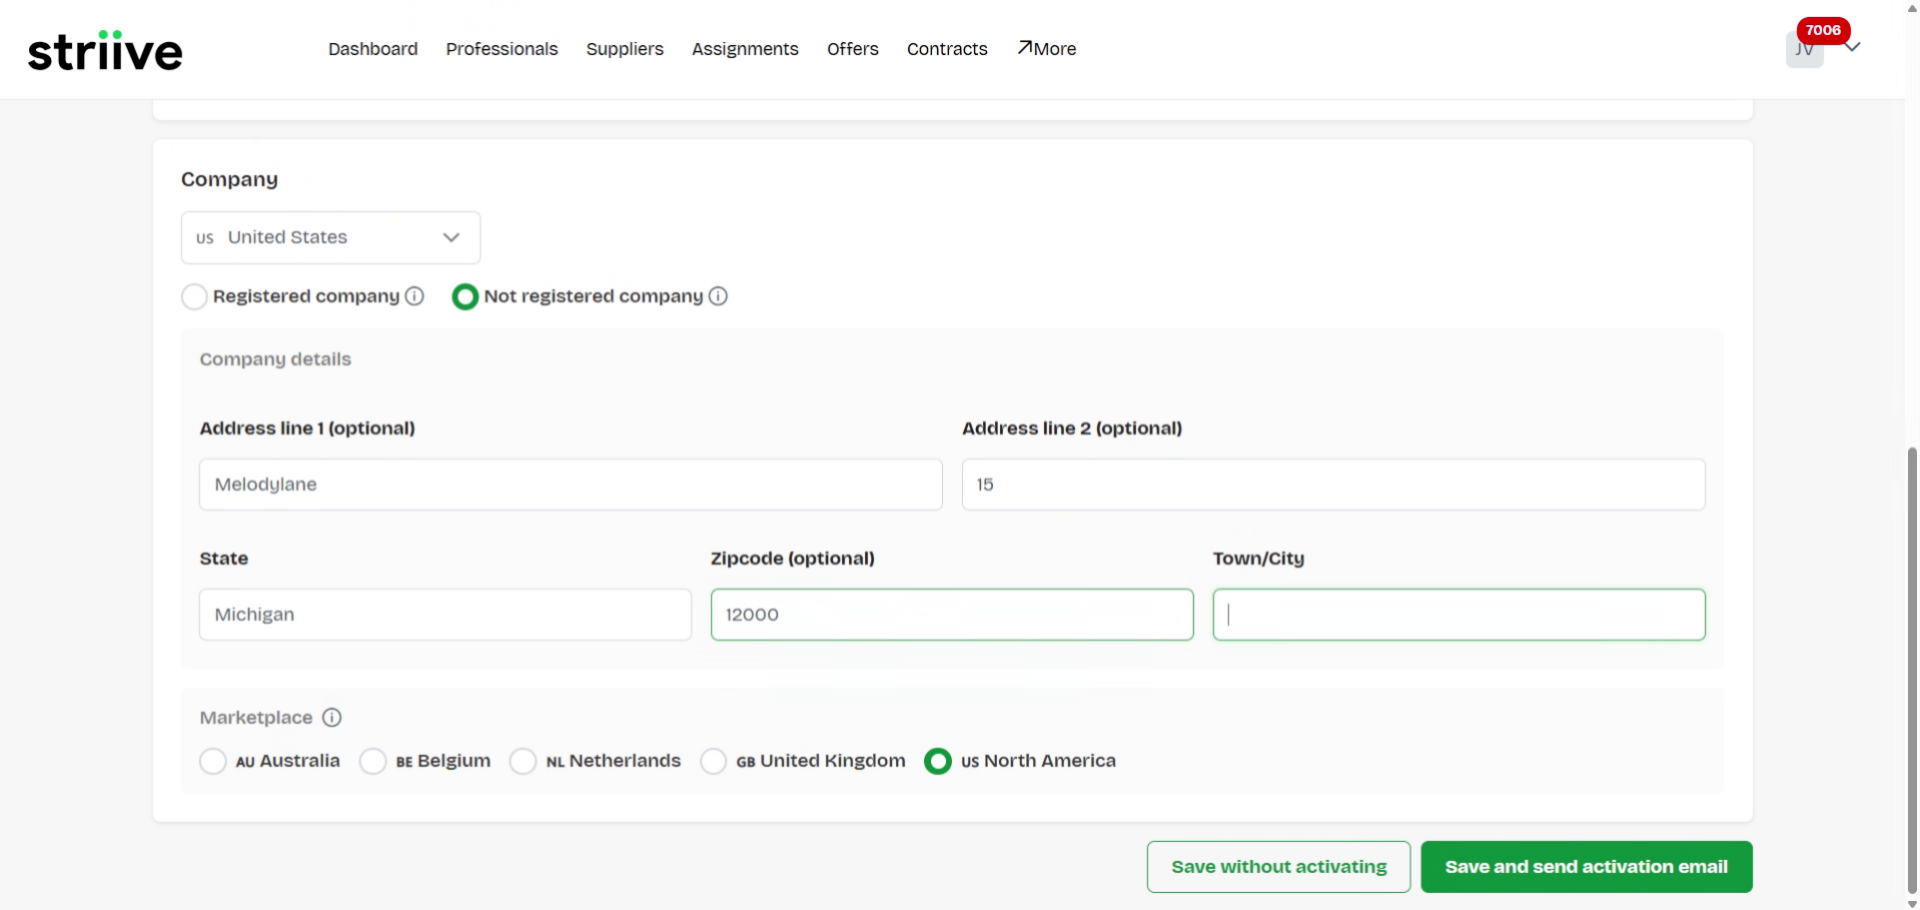
15. Select Address Line 1 Field

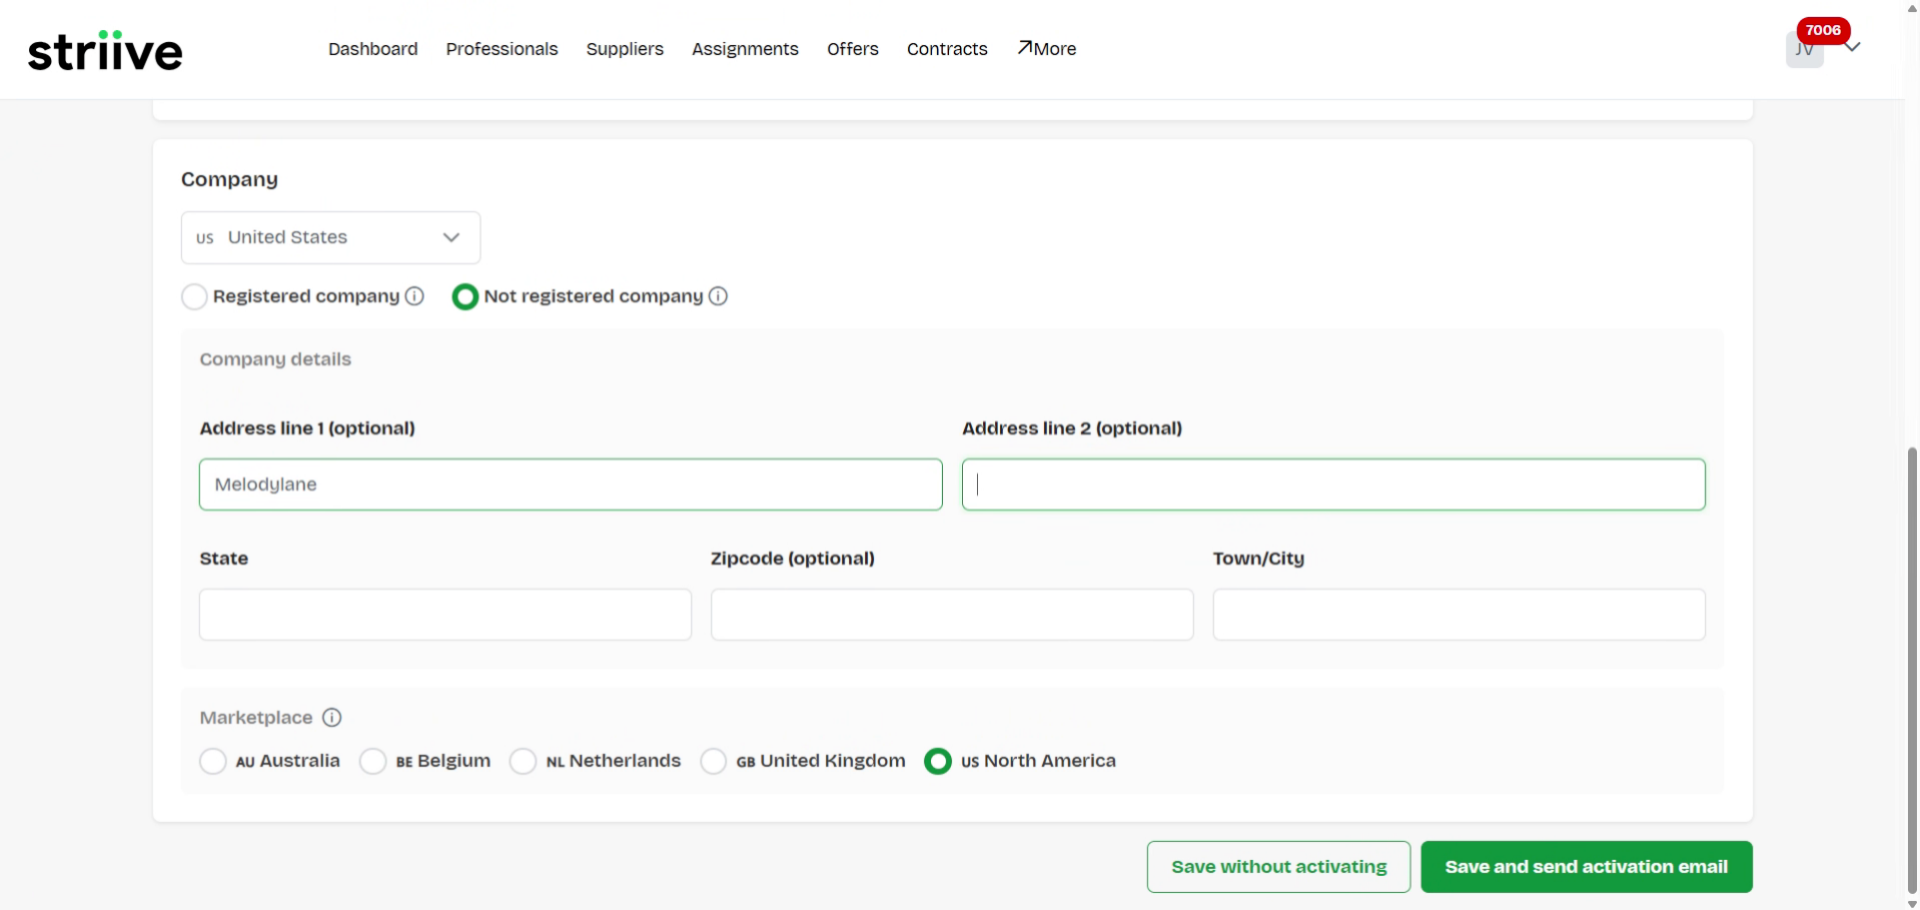
16. Enter Address Line 1
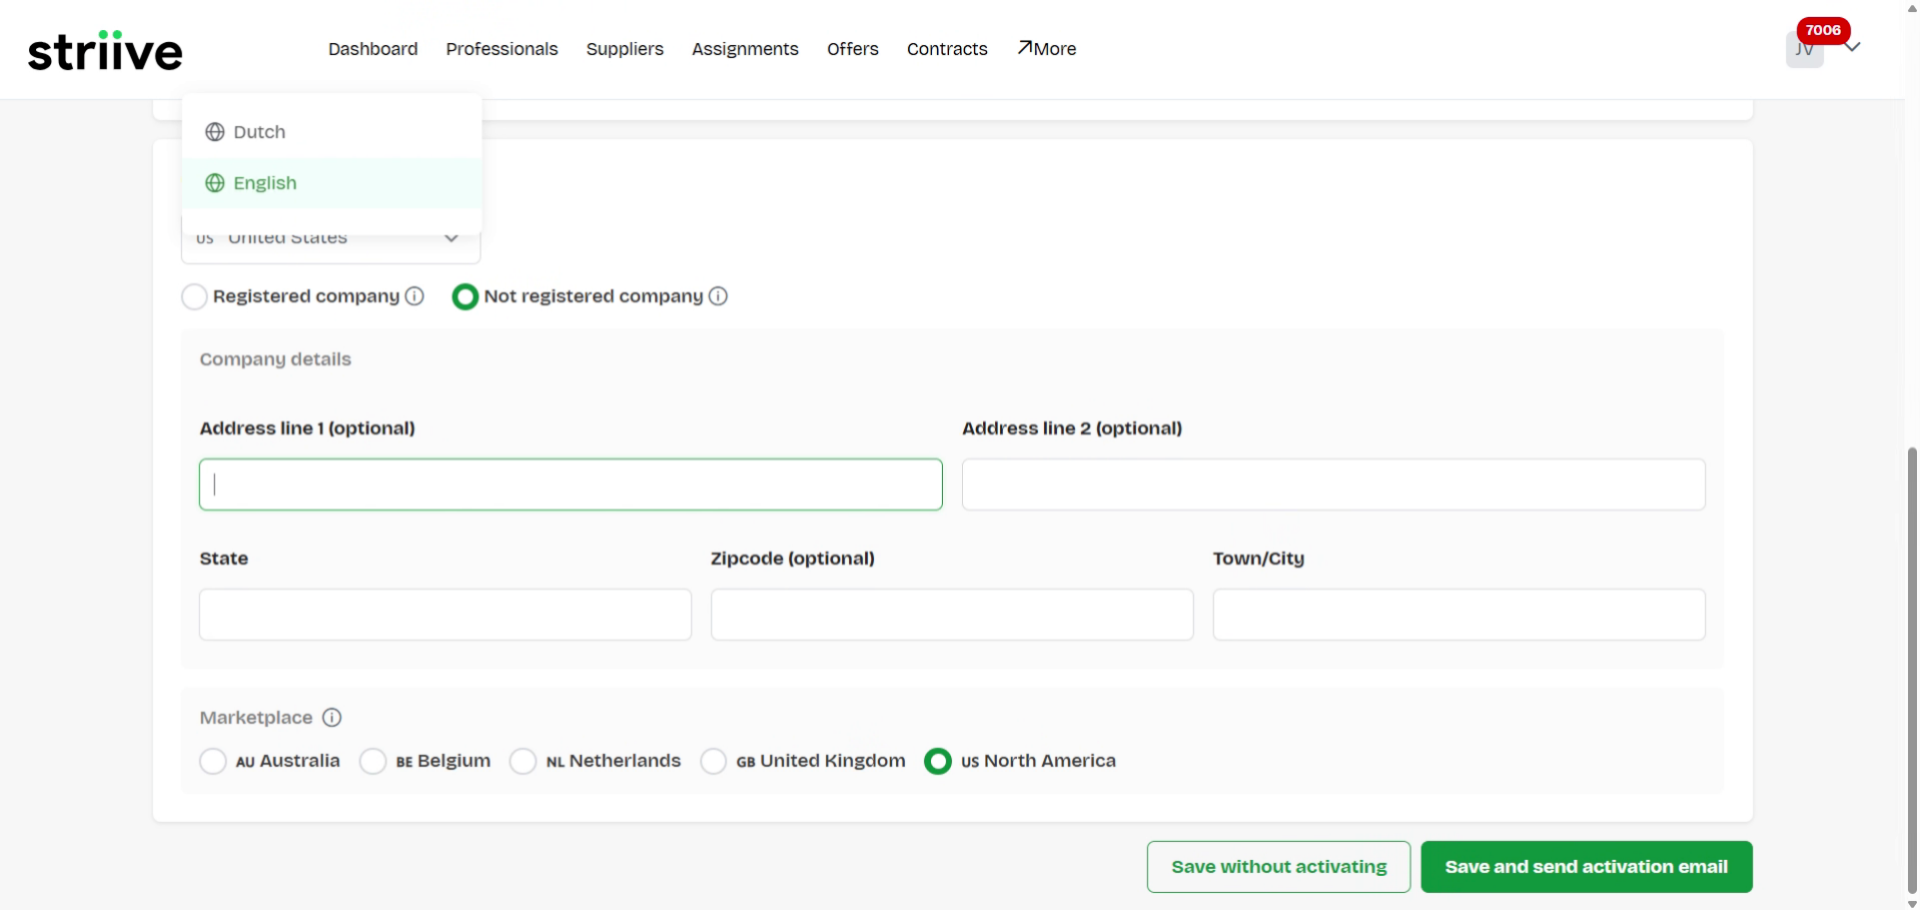
17. Enter Address Line 1
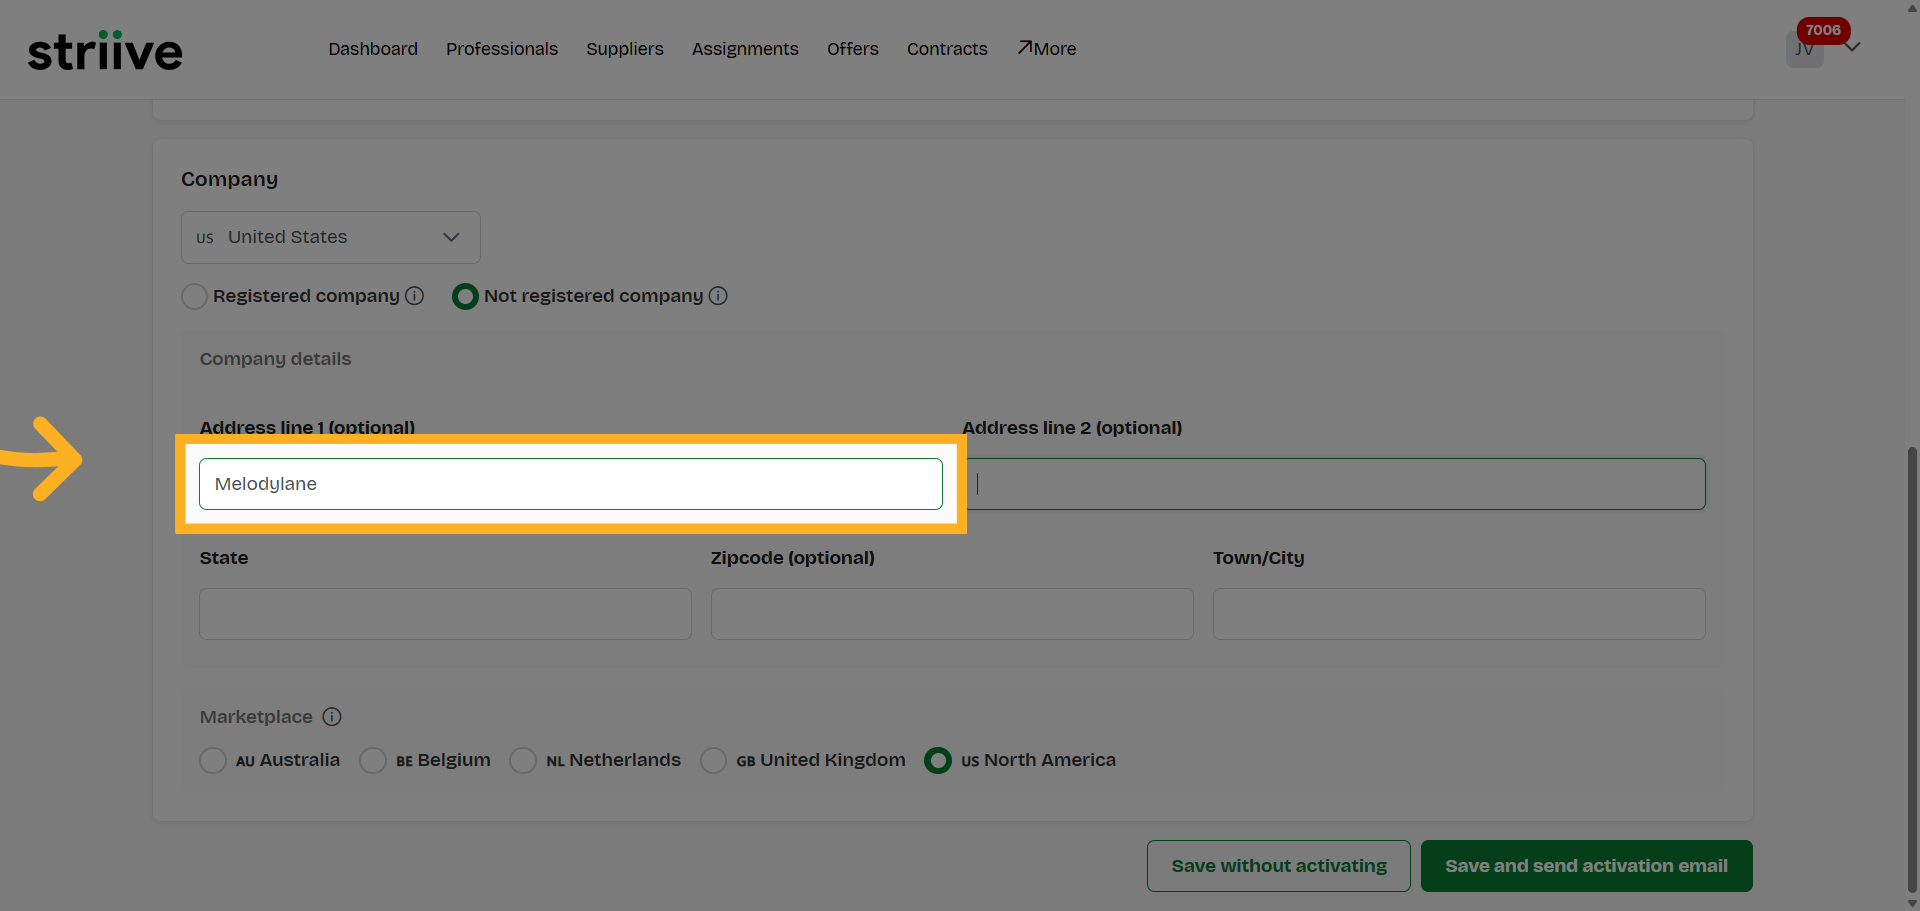
18. Navigate to Address Number Field
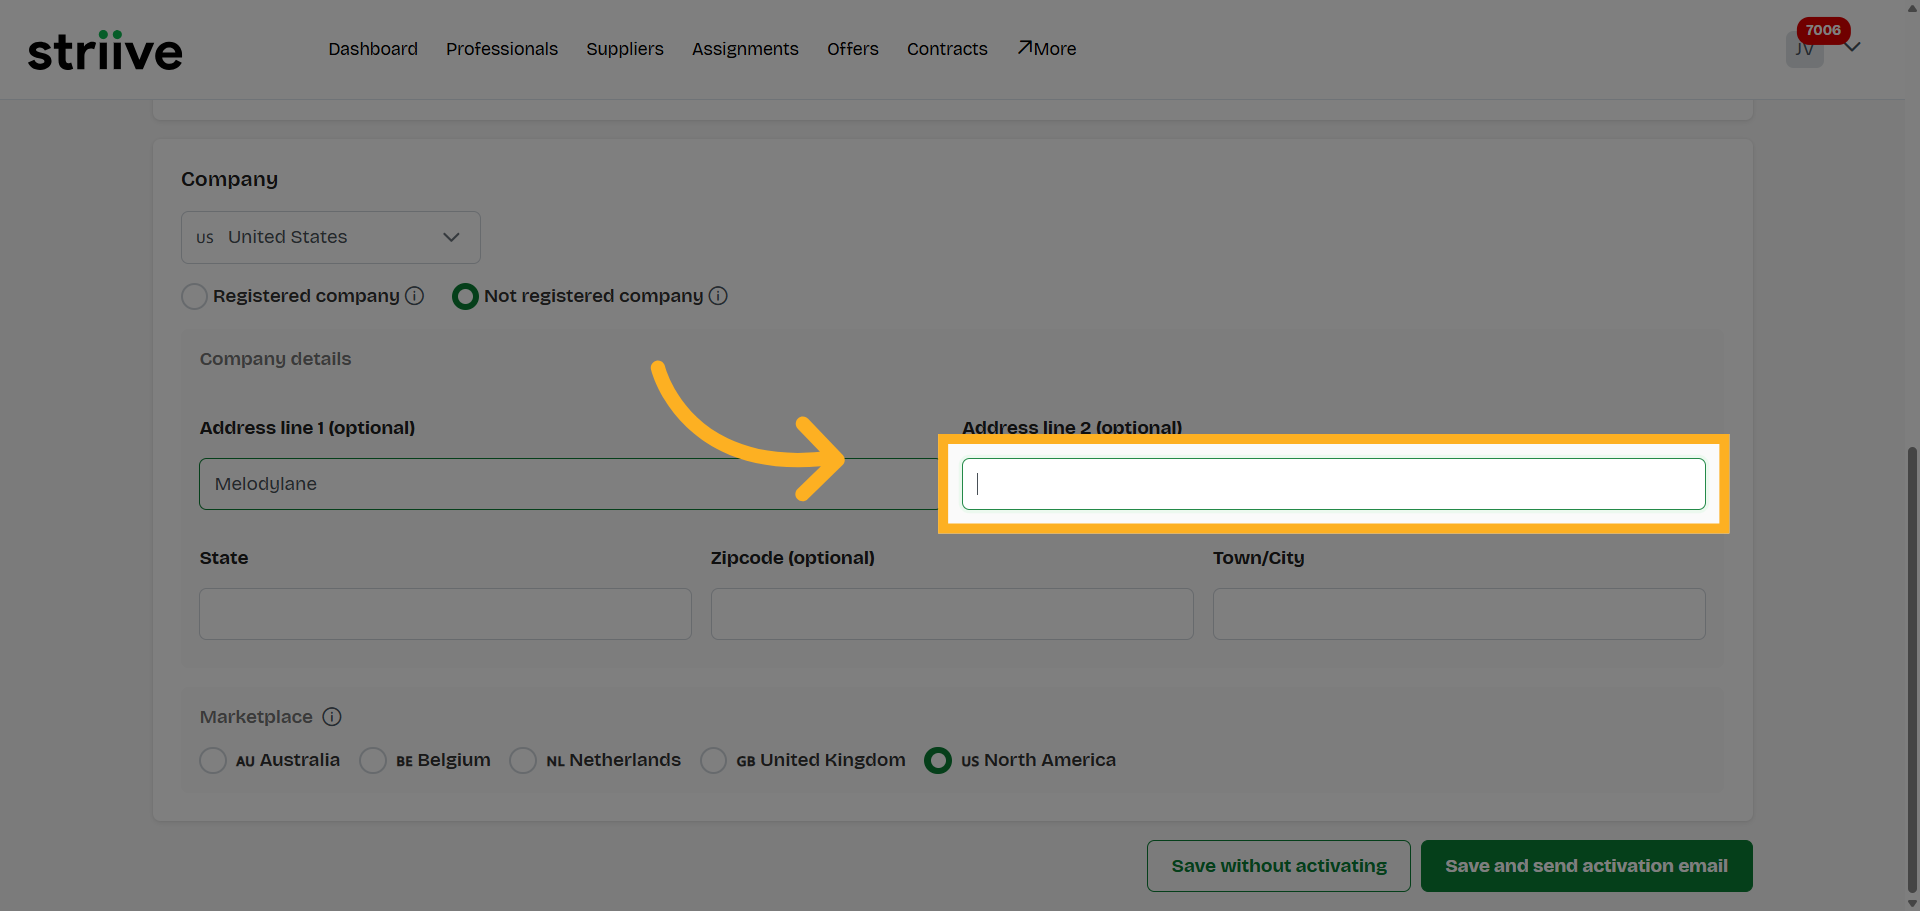
19. Enter Address Number
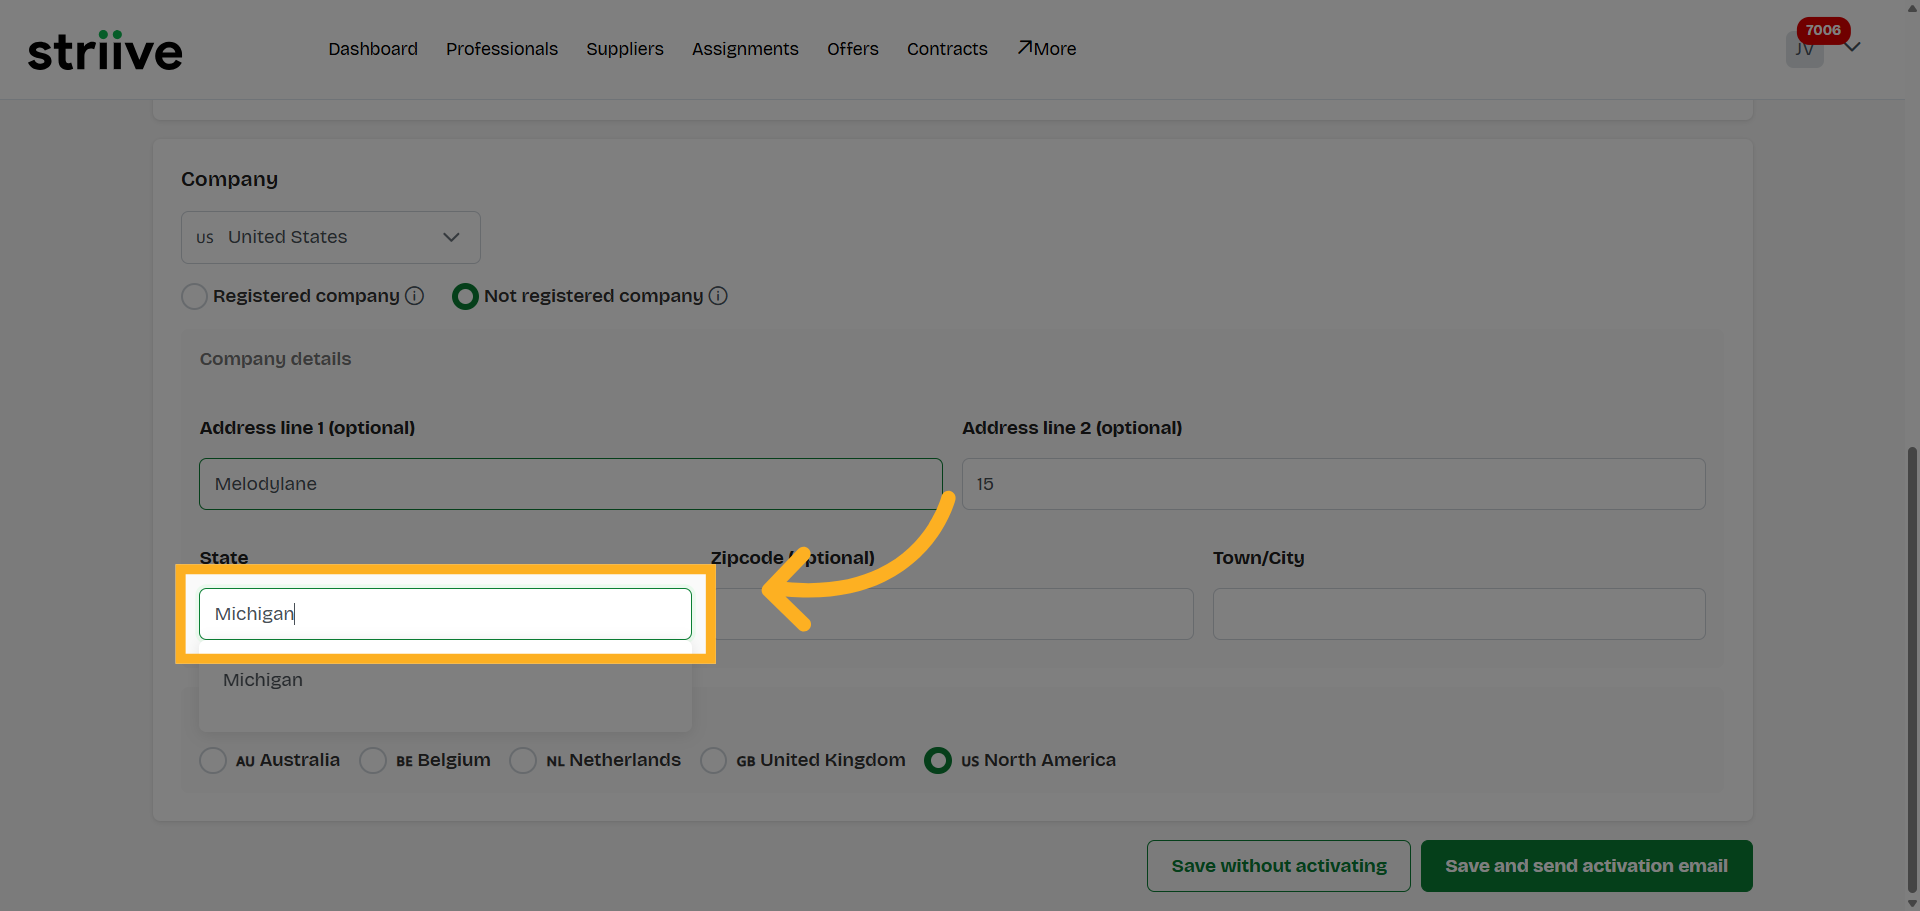
20. Enter State Name
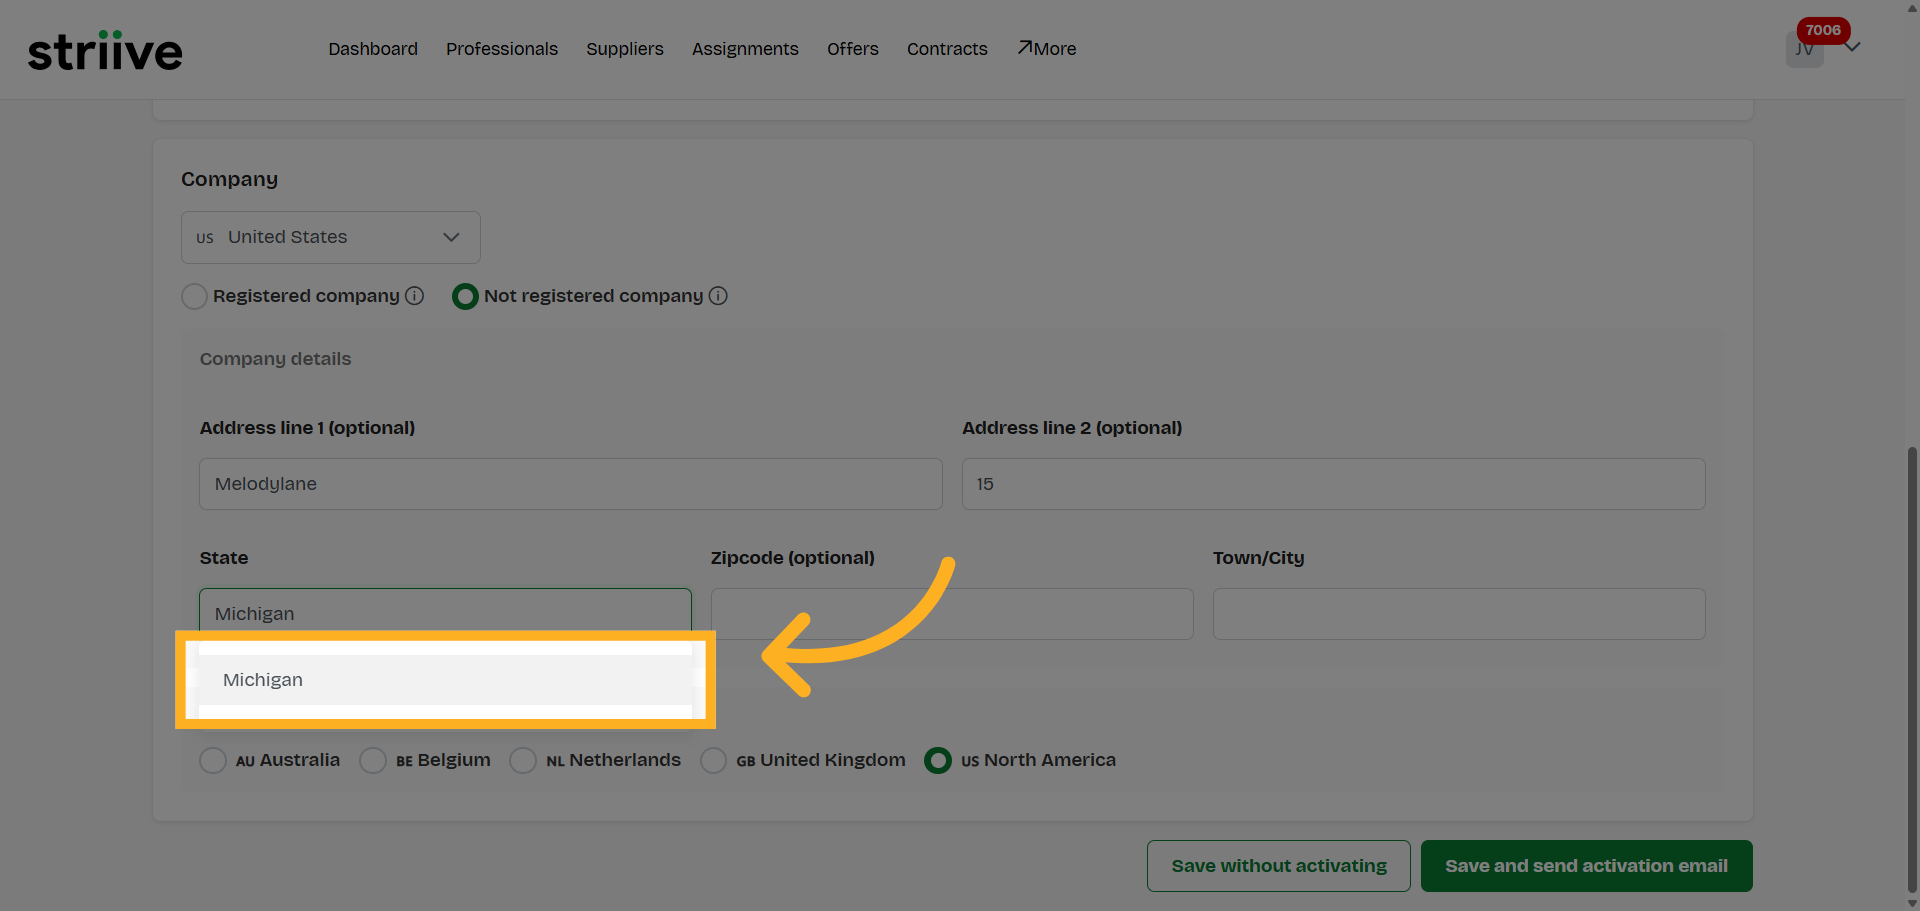
21. Select State Field
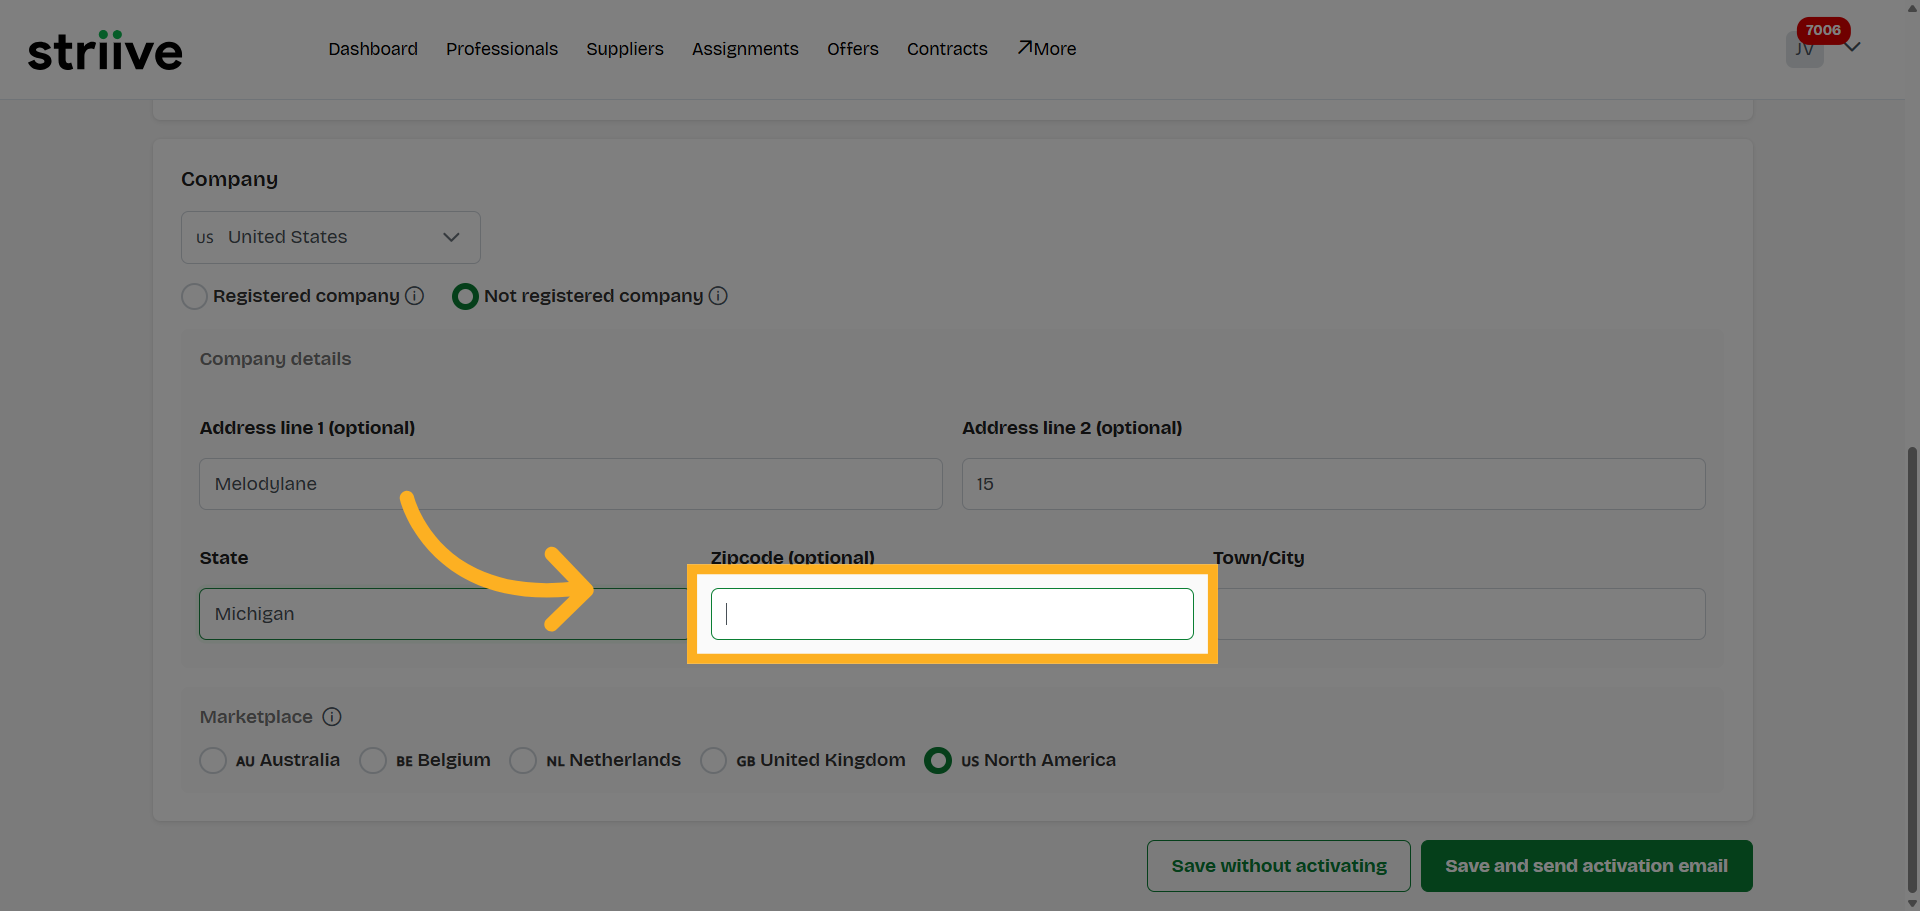
22. Select Zipcode Field
23. Enter Zipcode

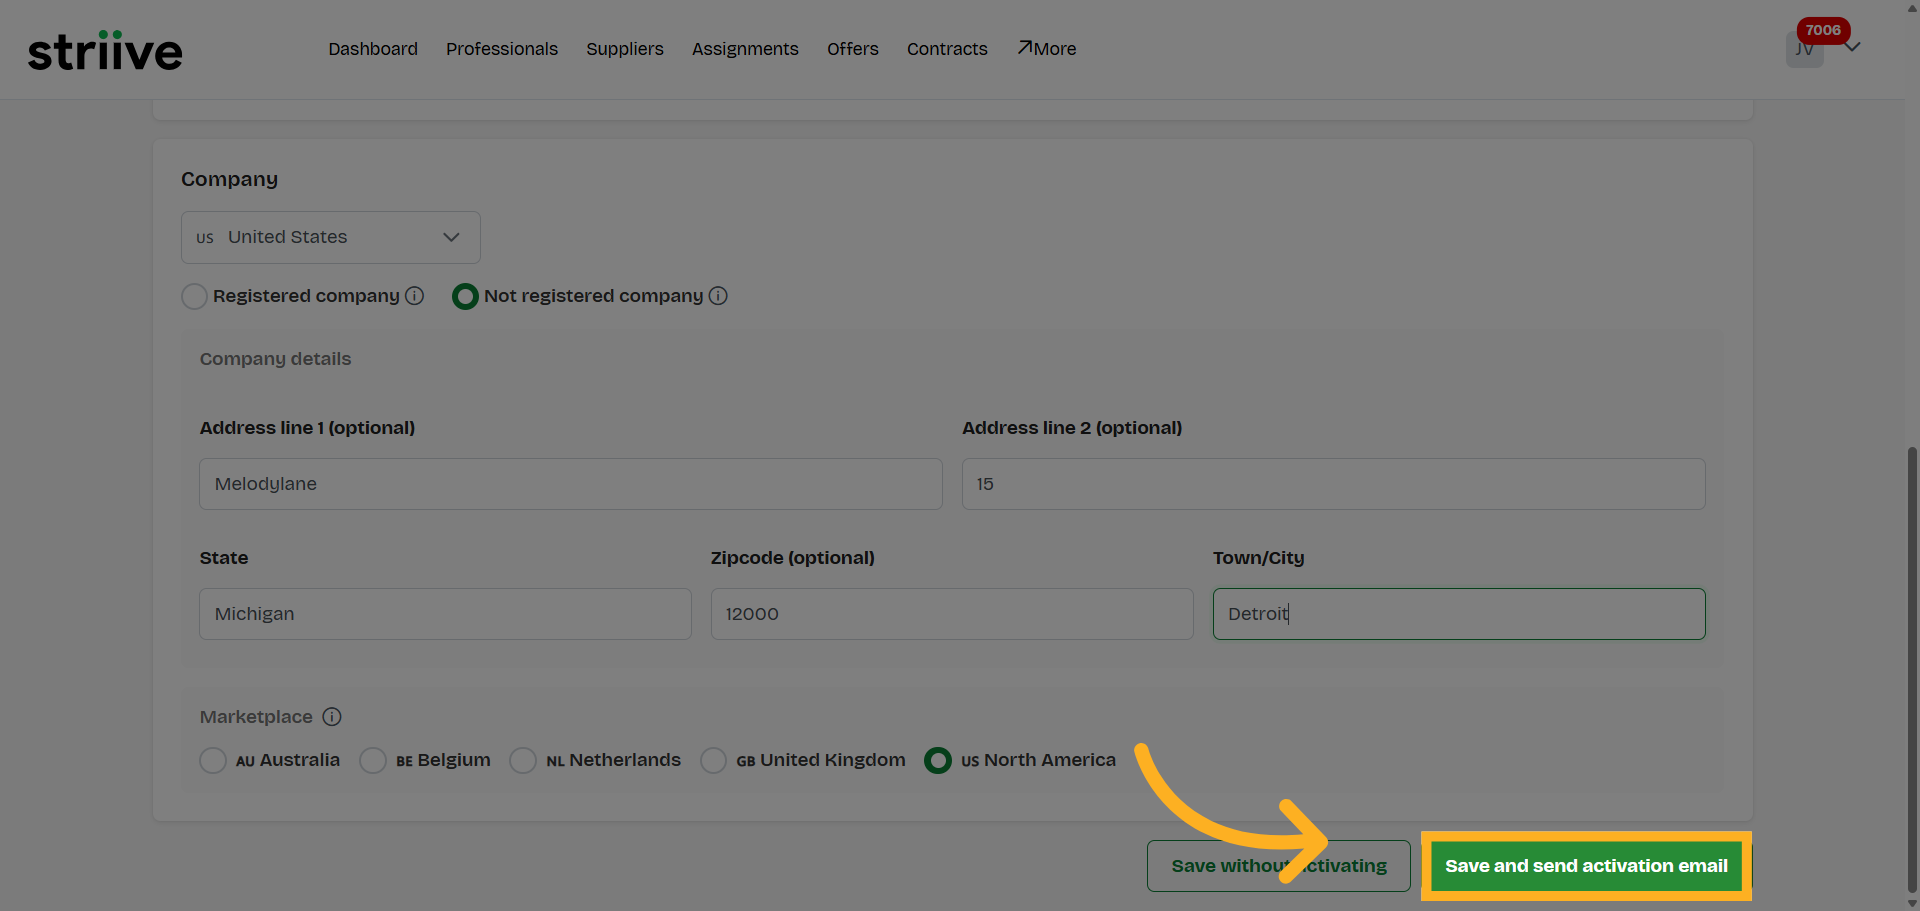
24. Navigate to City Field
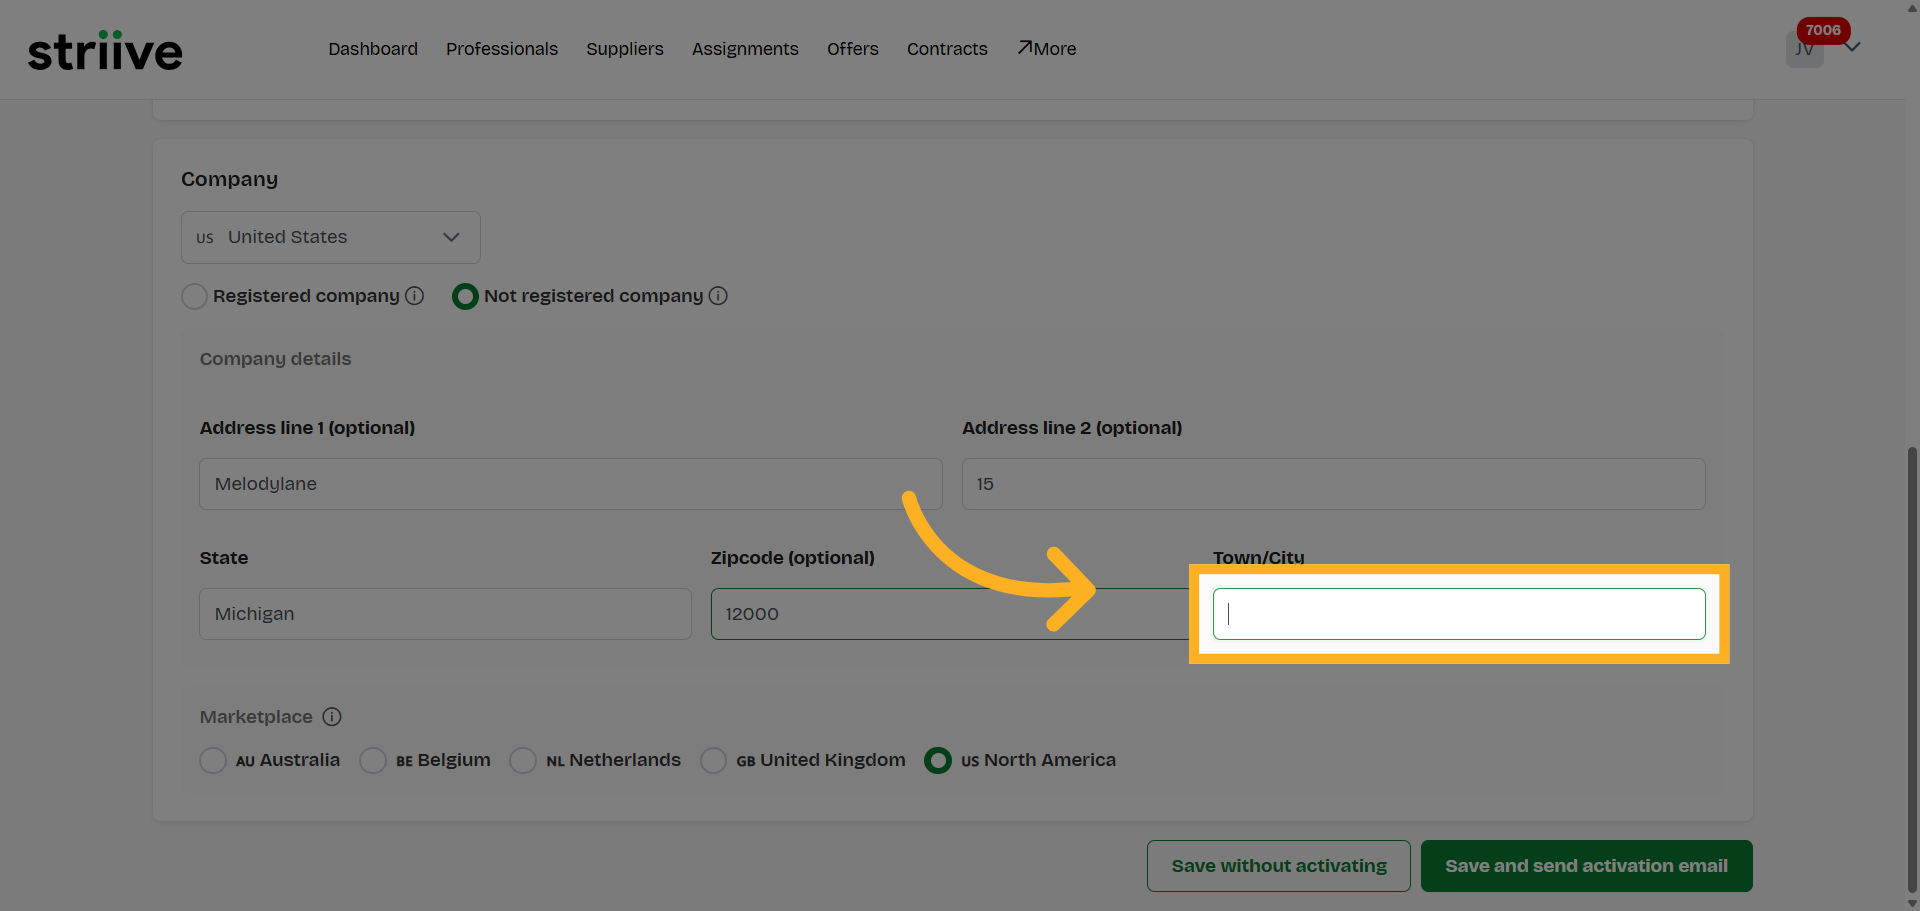
25. Enter City Name
26. Save and Send Activation Email
27. Open History Tab
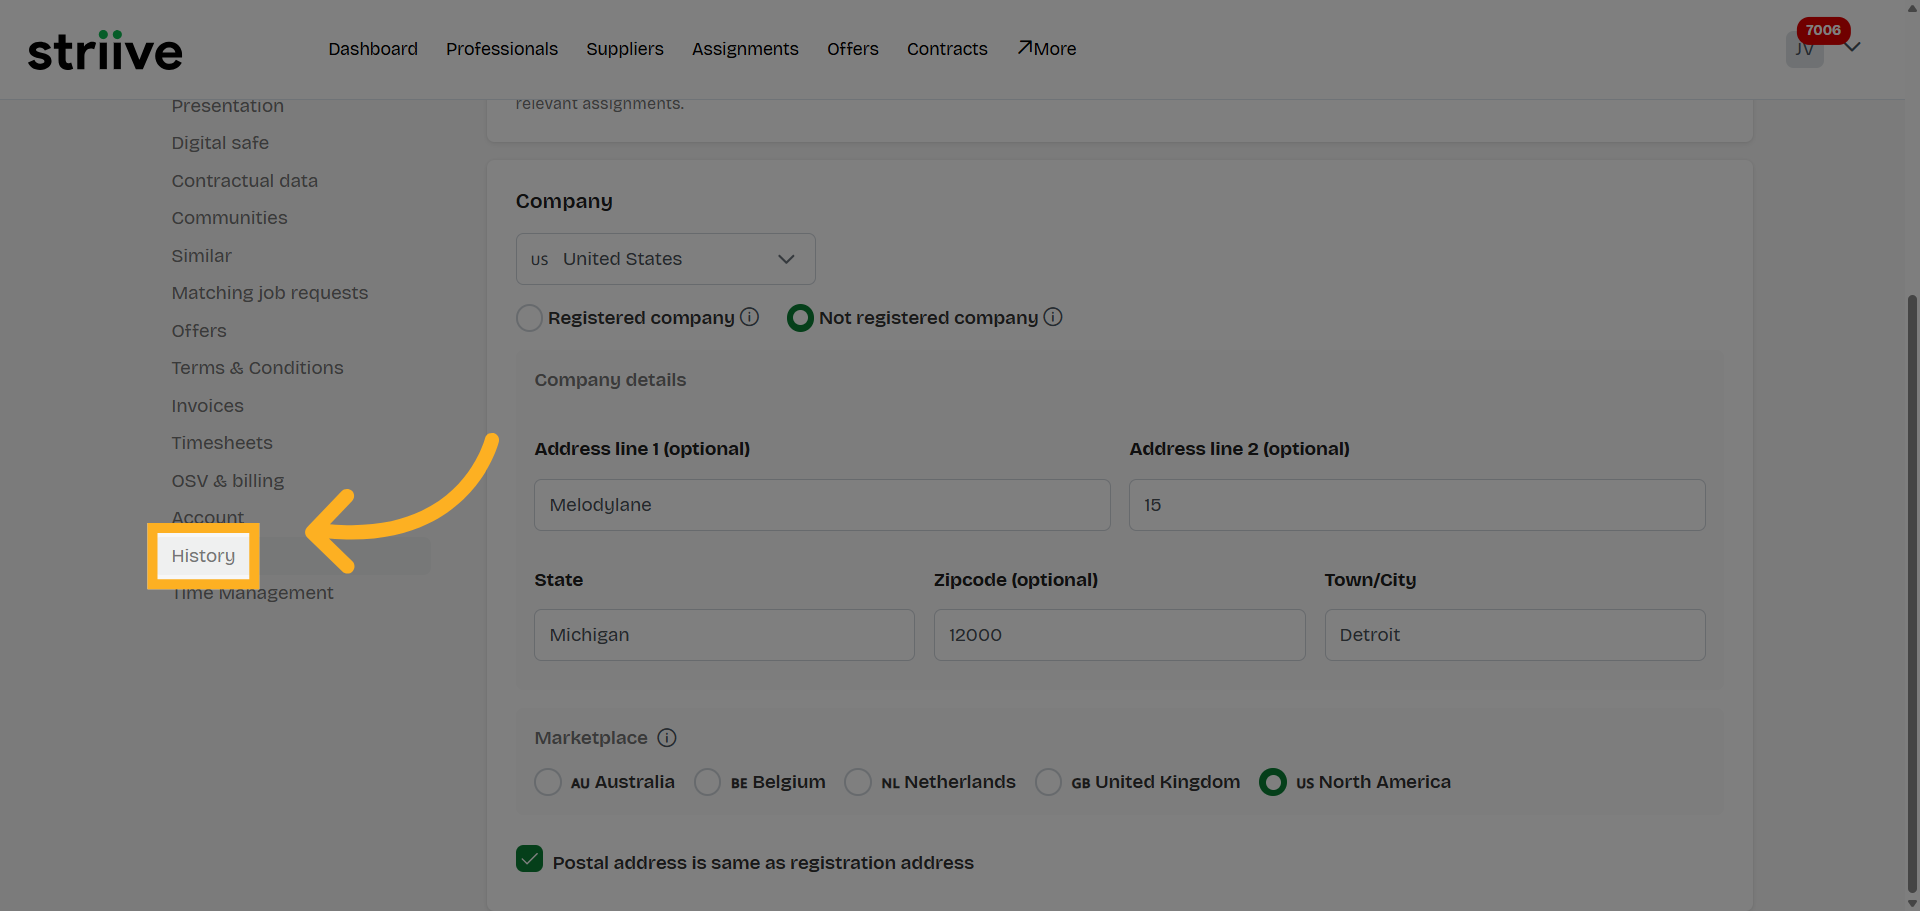
28. Select Email Record

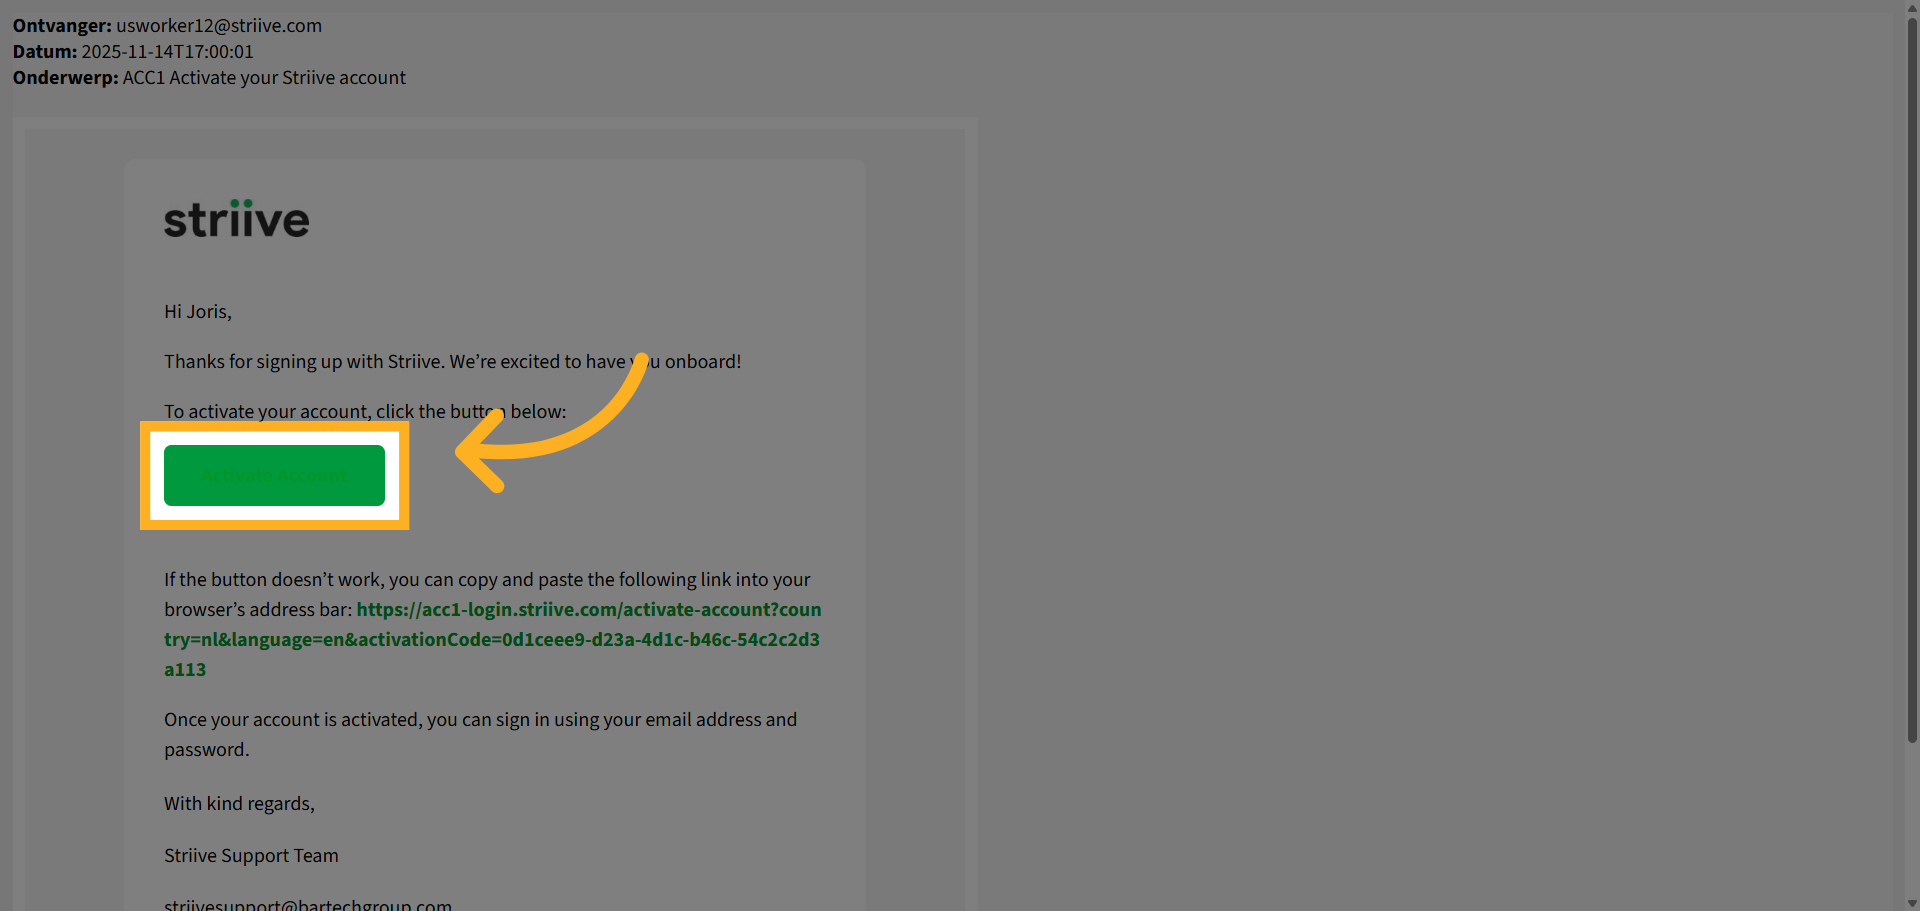
29. Activate Worker Account
30. Switch to Login Portal
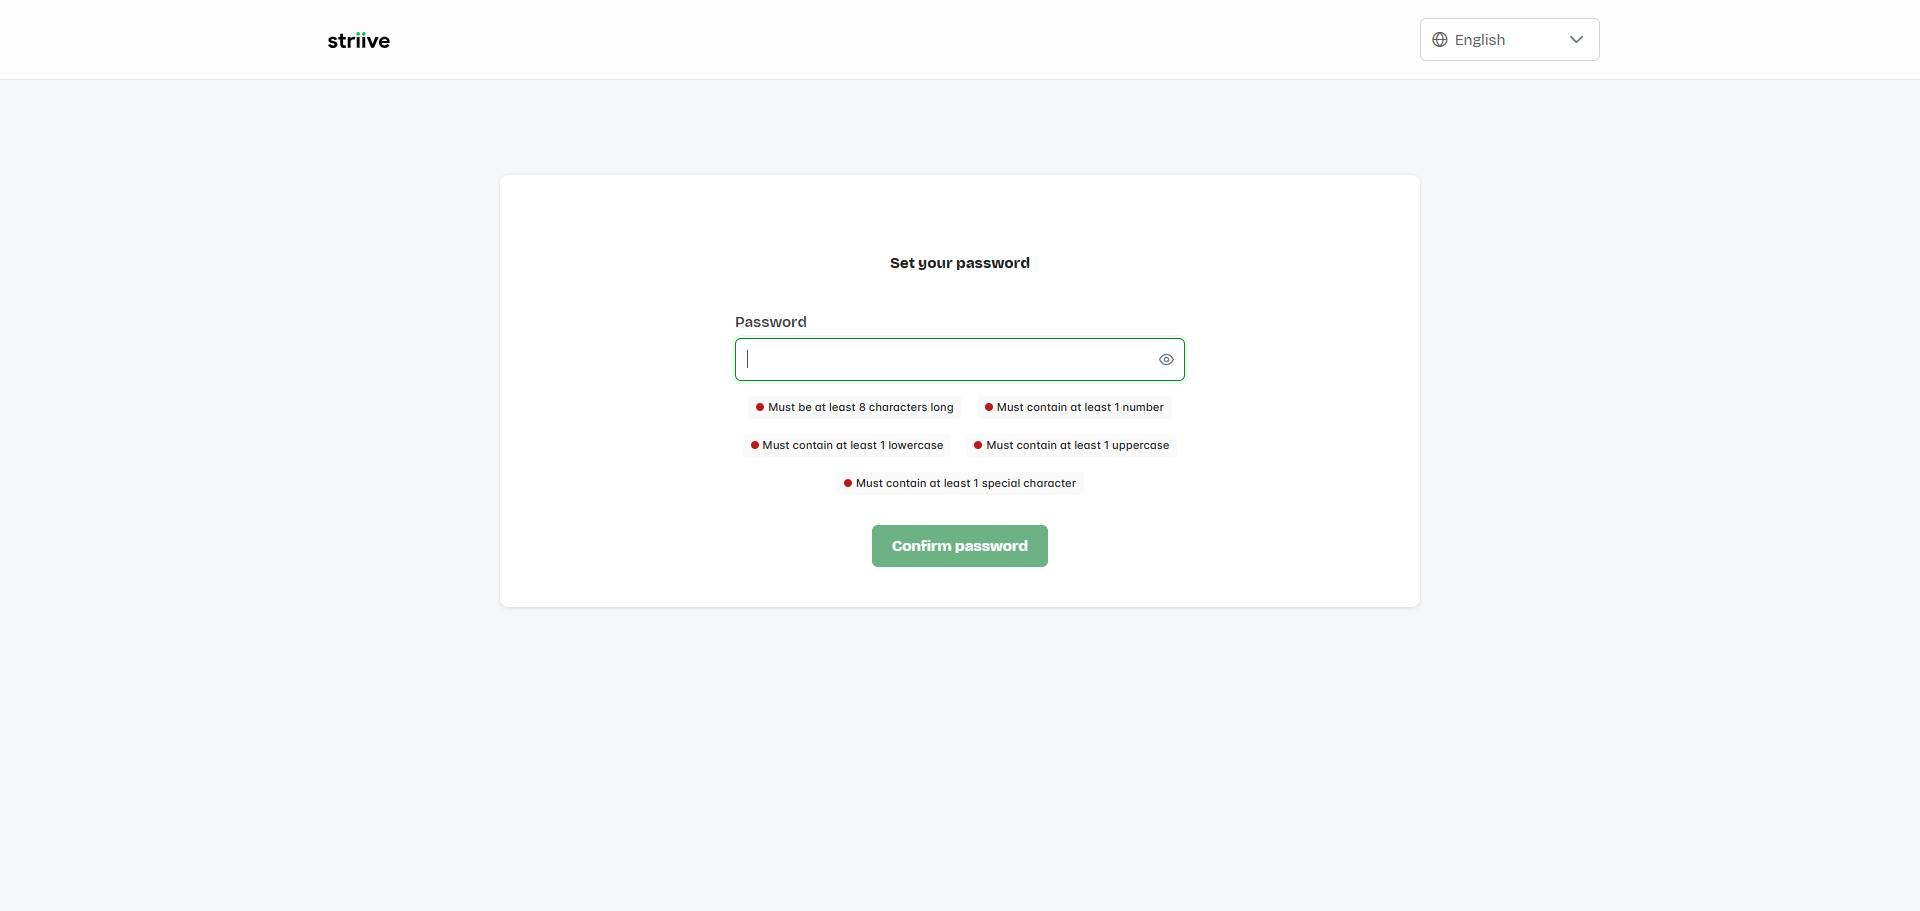
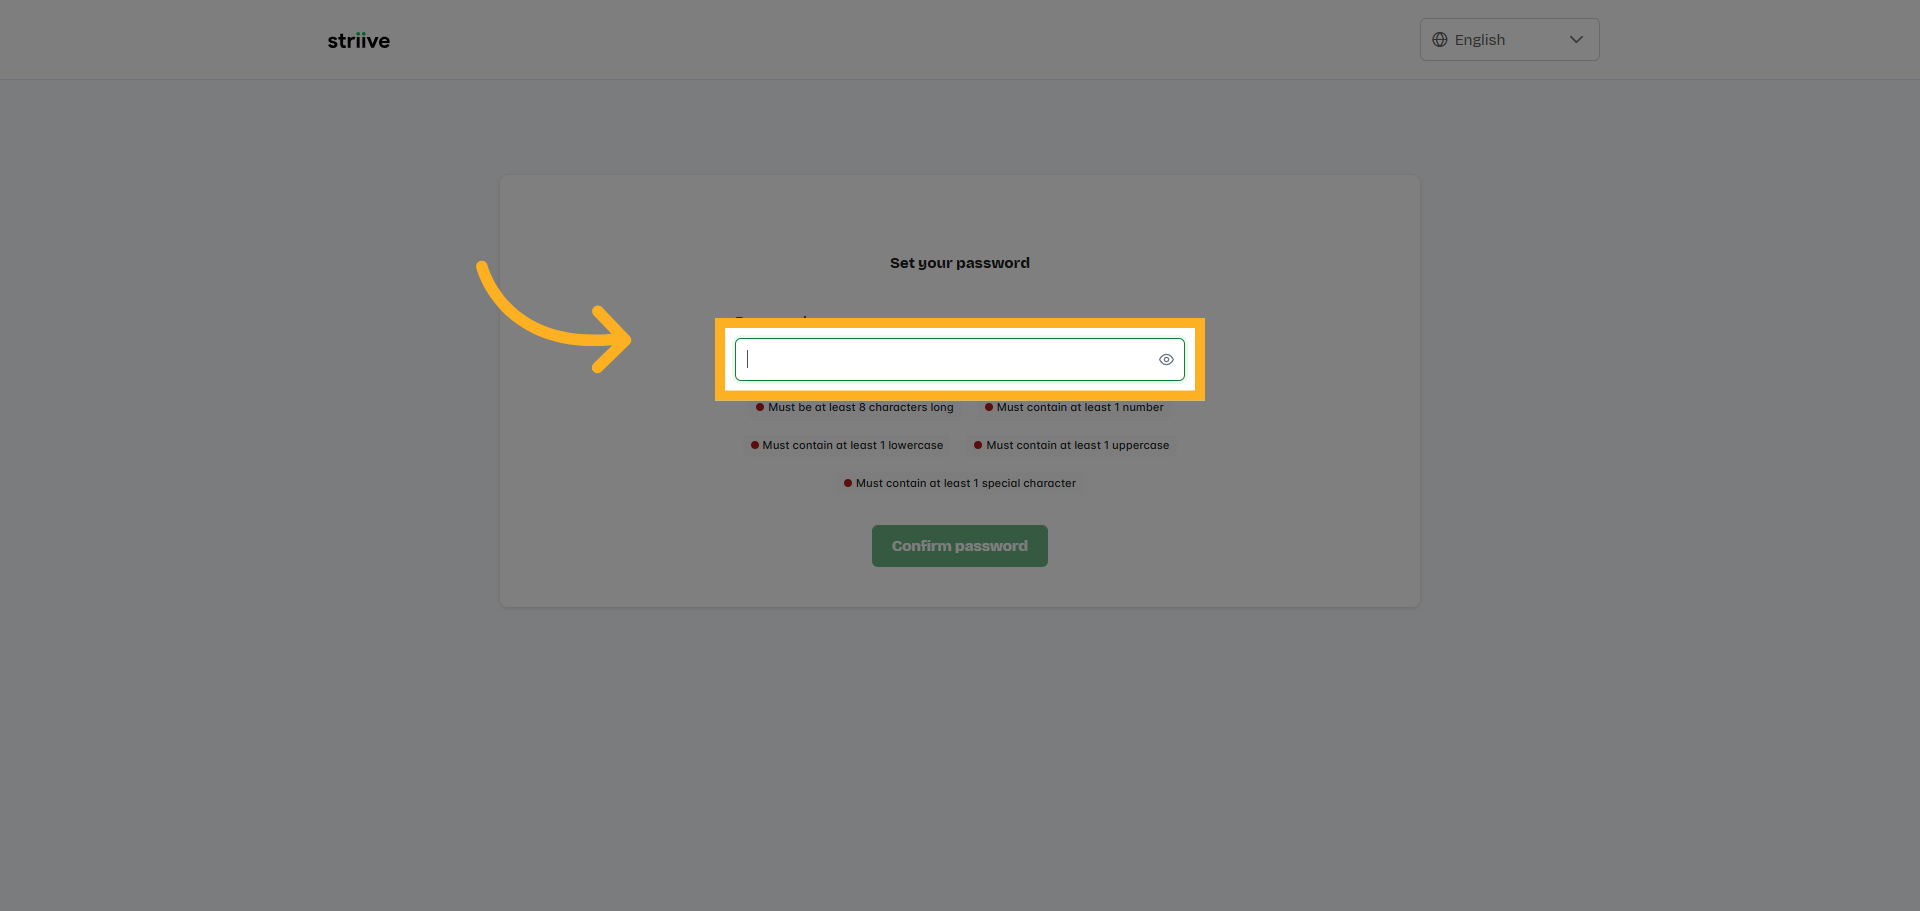
31. Select Password Field
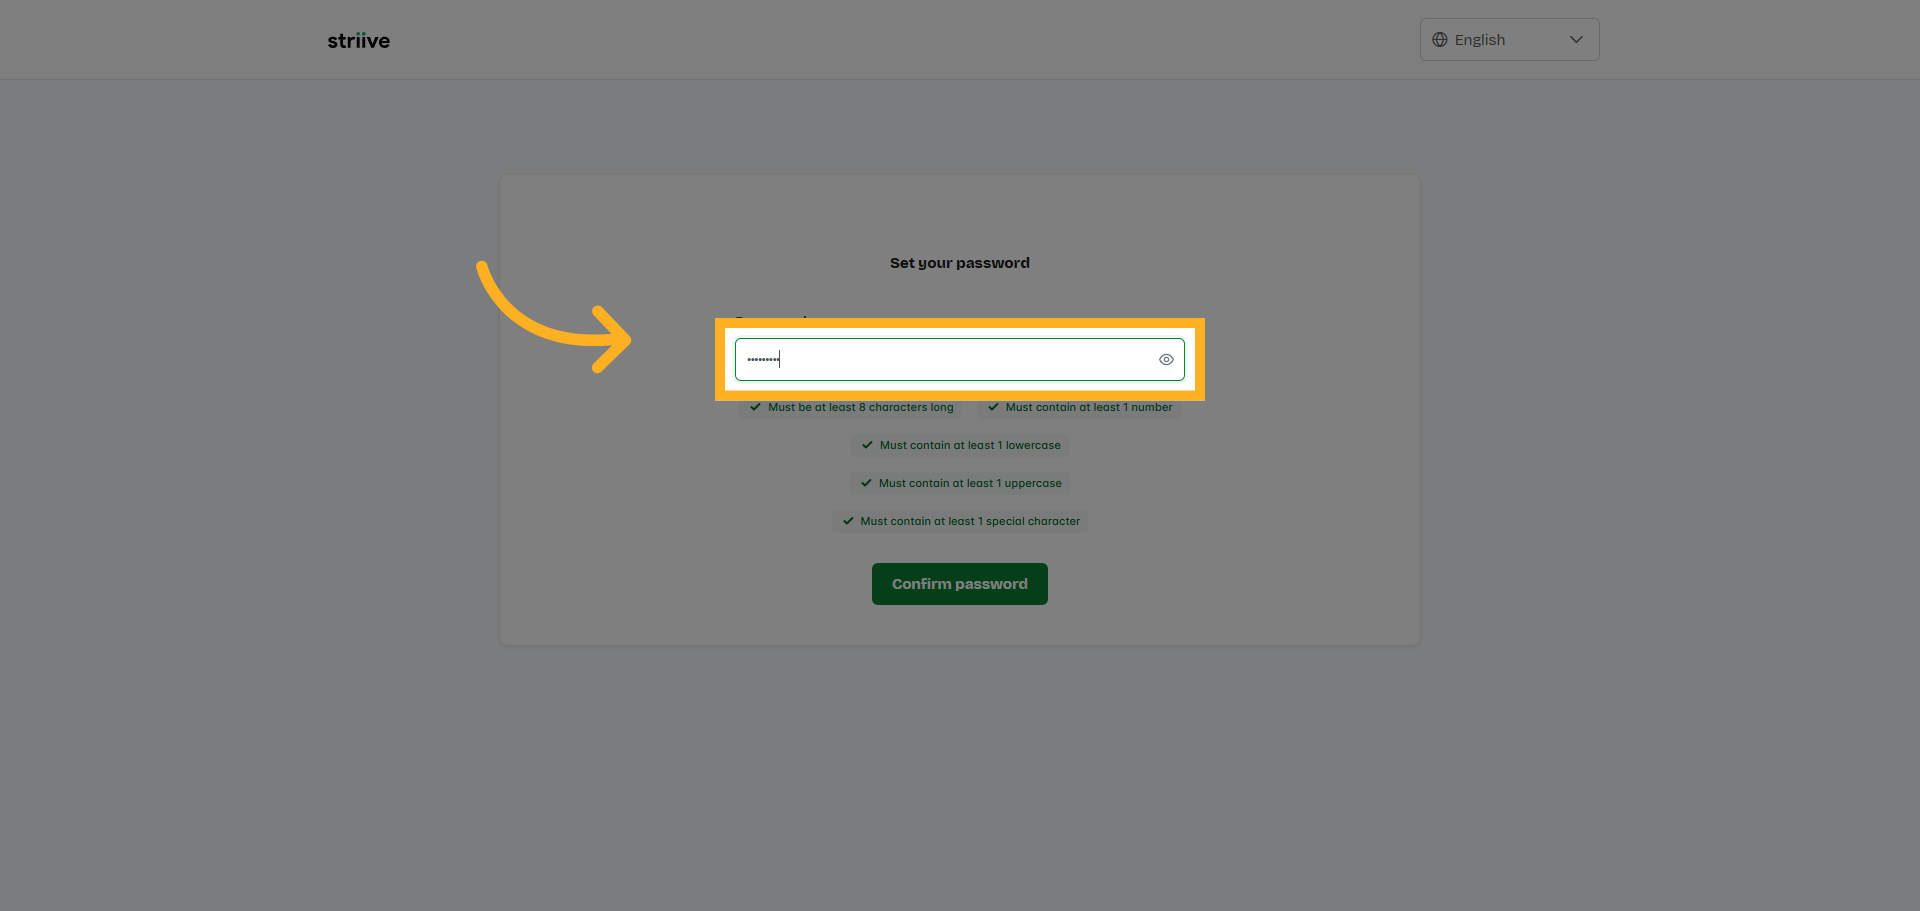
32. Enter Password
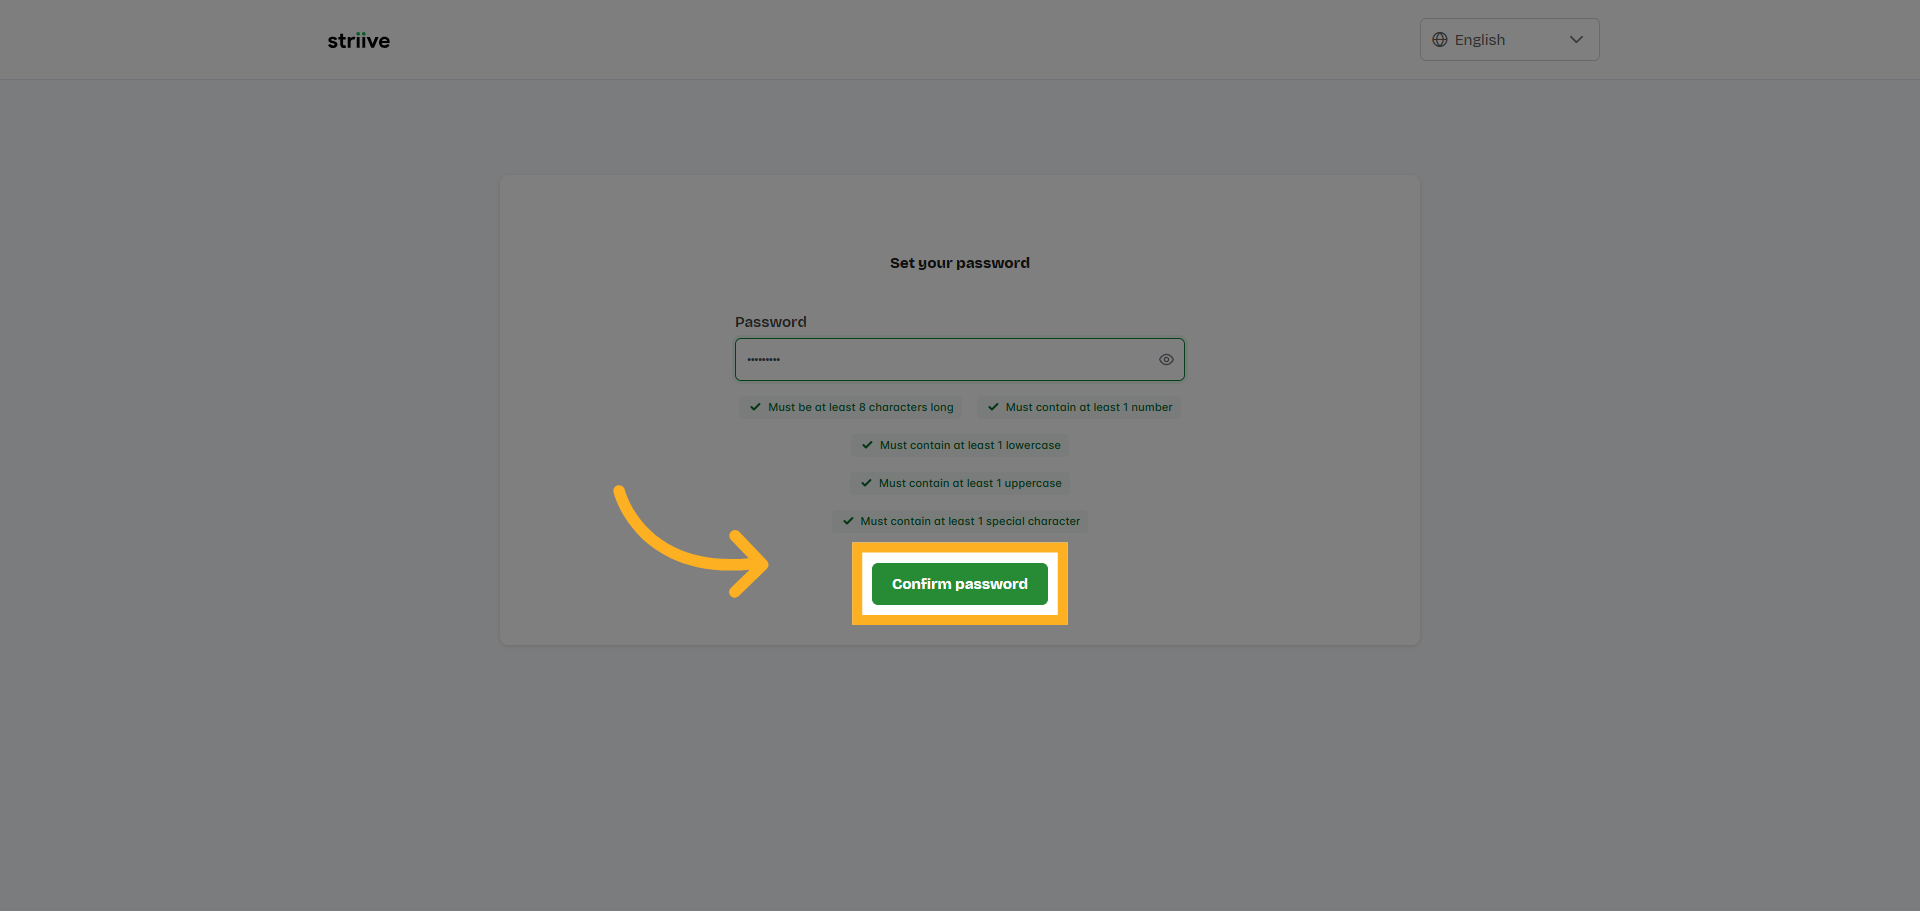
33. Confirm Password Entry
34. Switch to Freelancer Portal
35. Access Freelancer Section
00:00: This training covers the process of adding a US worker to the professional
00:04: table.
00:05: You will learn how to input worker, details, upload, resumes and activate
00:10: accounts, effectively.
00:12: To add a US worker, you go to the professional table.
00:17: Click on the, add us worker button, and the form opens.
00:22: From here we can drag and drop a resume.
00:25: The details from the resume are extracted.
00:30: If there is an email address in the resume, it will be filled here.
00:35: Click email.
00:40: Enter your email address.
00:43: Go here.
00:45: Here.
00:47: Enter your email address.
00:49: Go here.
00:51: Enter the phone number.
00:54: Go here.
00:56: Click address Line. 1, optional.
01:00: Enter your address Line 1.
01:02: Enter your address Line 1.
01:05: Go here.
01:07: Enter your address number.
01:10: Enter the state name.
01:13: Click the State field.
01:15: Click zip code, optional.
01:18: Enter the ZIP code.
01:20: Go here.
01:22: Enter the city name.
01:25: You can save without activating to call the professional first and activate
01:29: later or send an activation email directly
01:33: Click history.
01:36: Click email.
01:38: Click activate account.
01:40: Switch to the login portal.
01:43: Click the password field.
01:45: Enter your password.
01:48: Click confirm password.
01:51: Switch to the freelancer portal.
01:54: Click here.
01:56: After completing this training, you will be able to add a US worker by uploading
02:01: resumes. Entering contact and address details and activating
02:05: their account. This process ensures accurate data, entry
02:09: and smooth onboarding for new professionals,